Remove Event
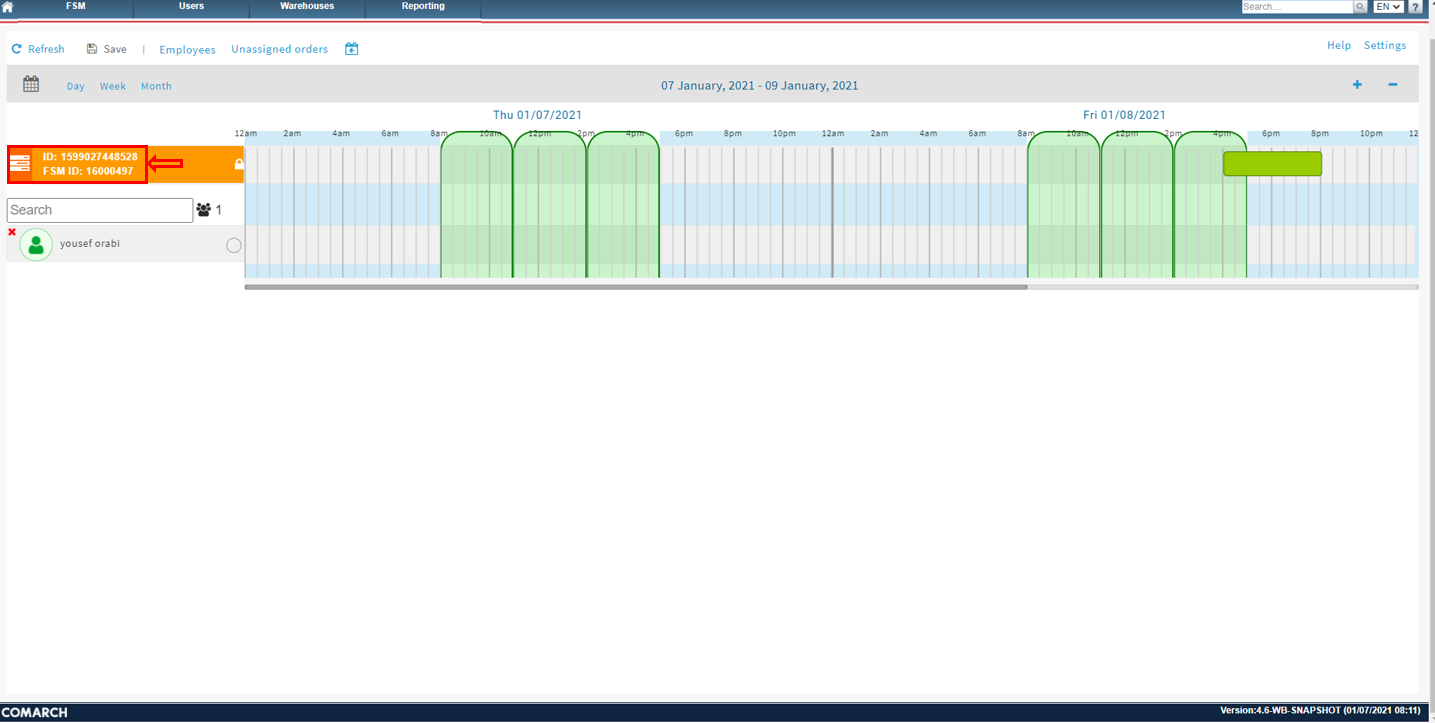
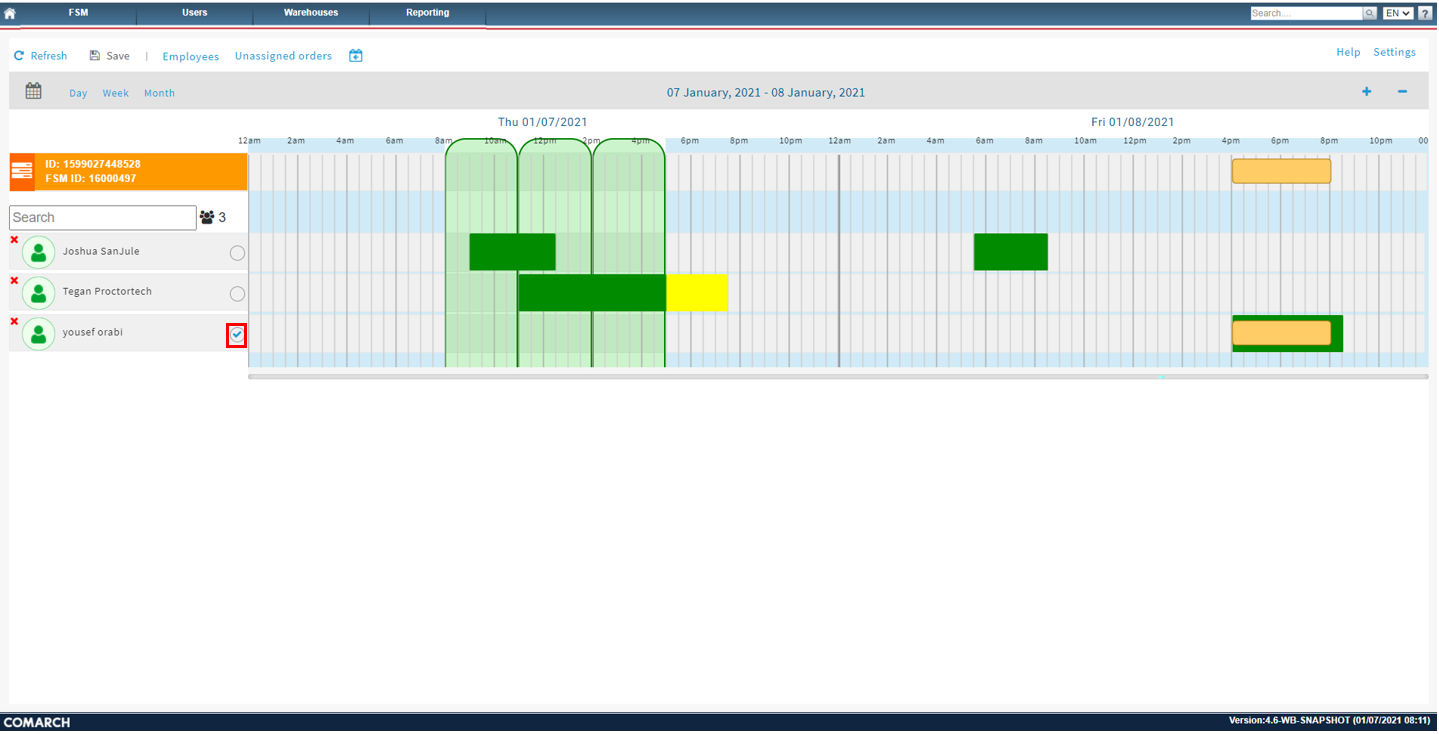
If the Dark Green Bar needs to be removed, do this while no technician is assigned. Uncheck the technician check box:
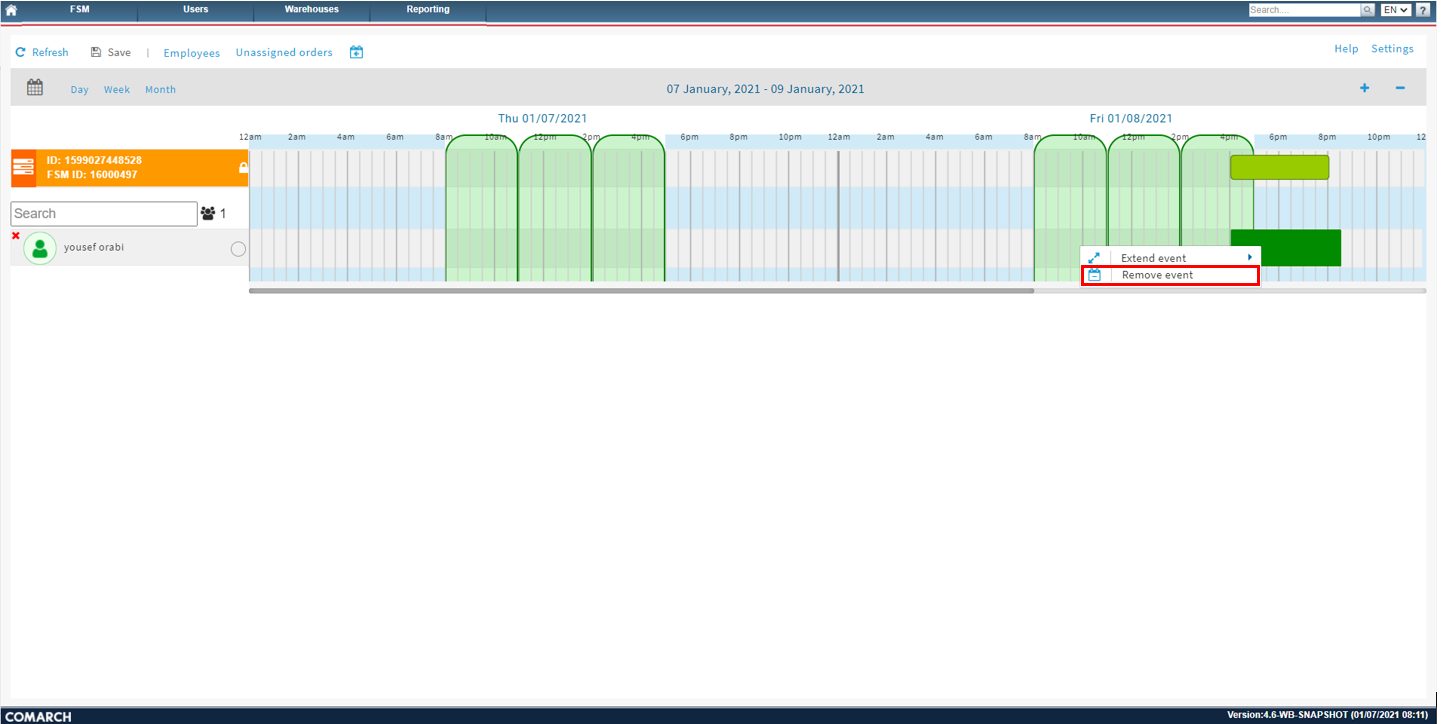
To remove the Dark Green Bar, right click on the Dark Green bar and select on Remove Event:
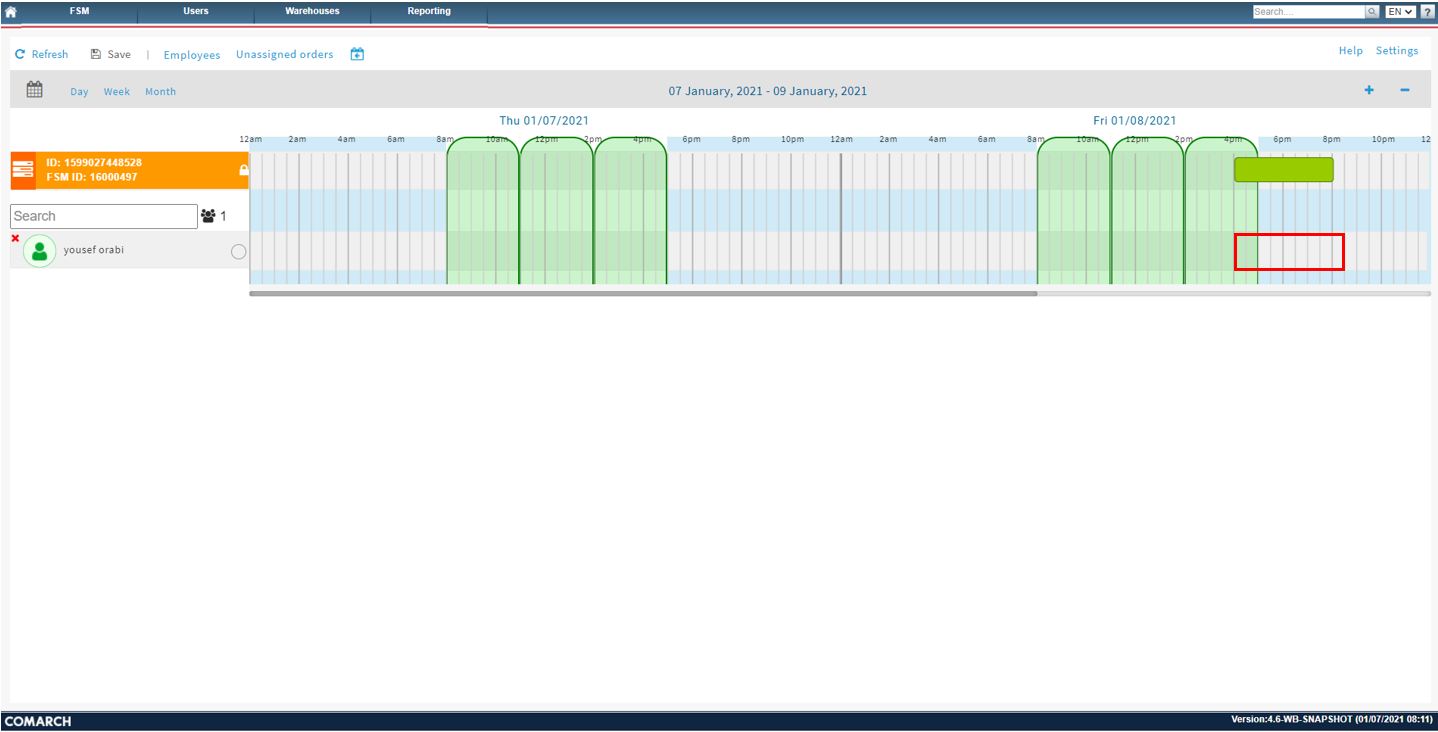
The Dark Green Bar will now be removed. This will remove the available work time for the technician:
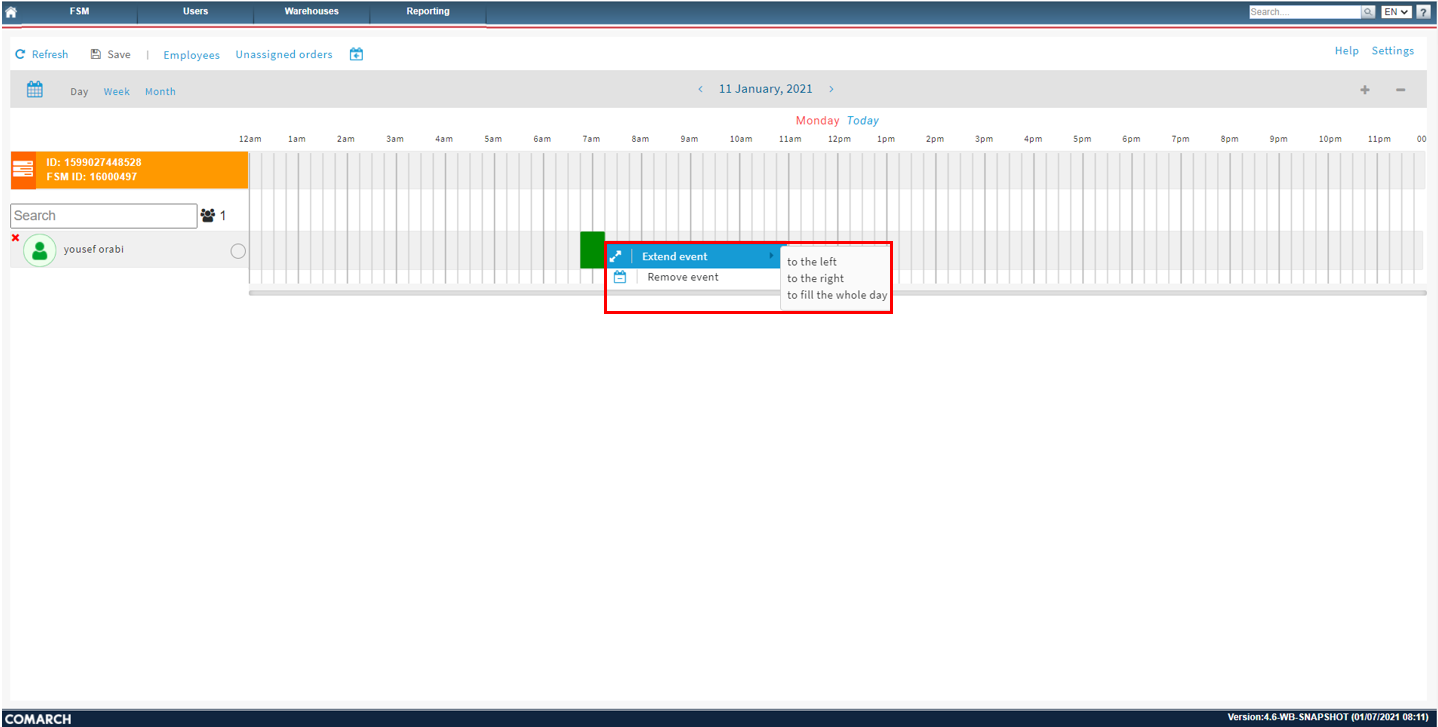
Extend Event
Extend Event can be used a quick shortcut to extend the technicians available work time:
- Right click on the available work Time (Dark Green Bar)
- Hover over Extend Event
- Three options will be displayed: to the left, to the right, to fill the whole day:
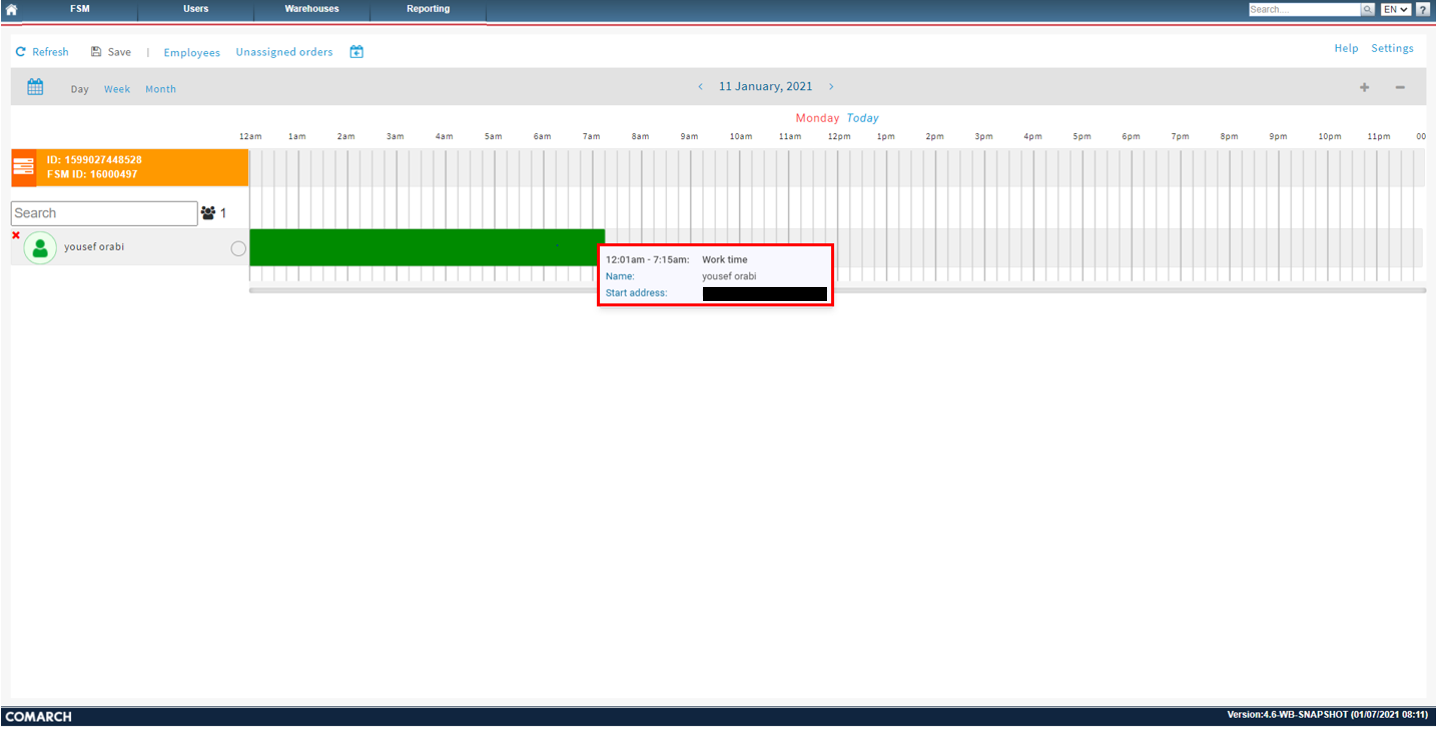
Extend Event to the left
This will change the start of the work time to 12:01am:
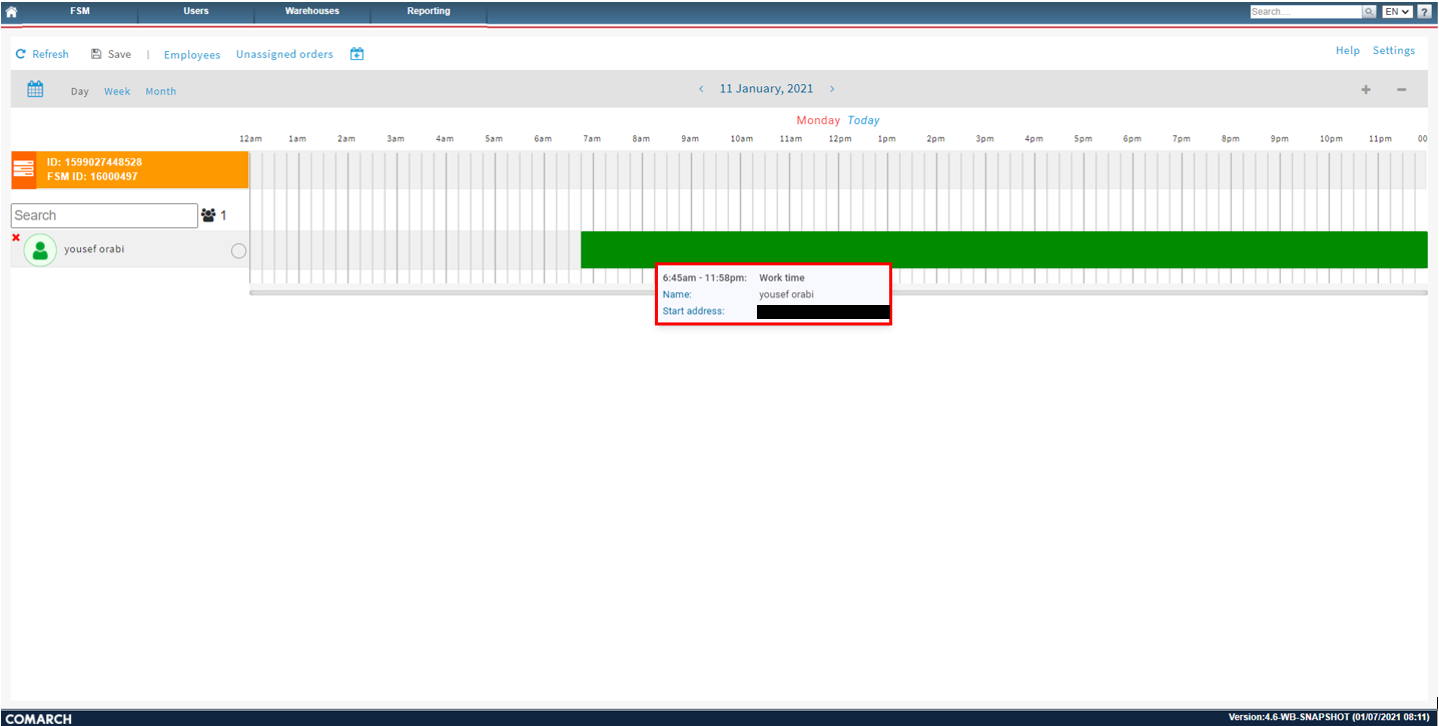
Extend event to the right
This will change the end of the work time to 11:58pm:
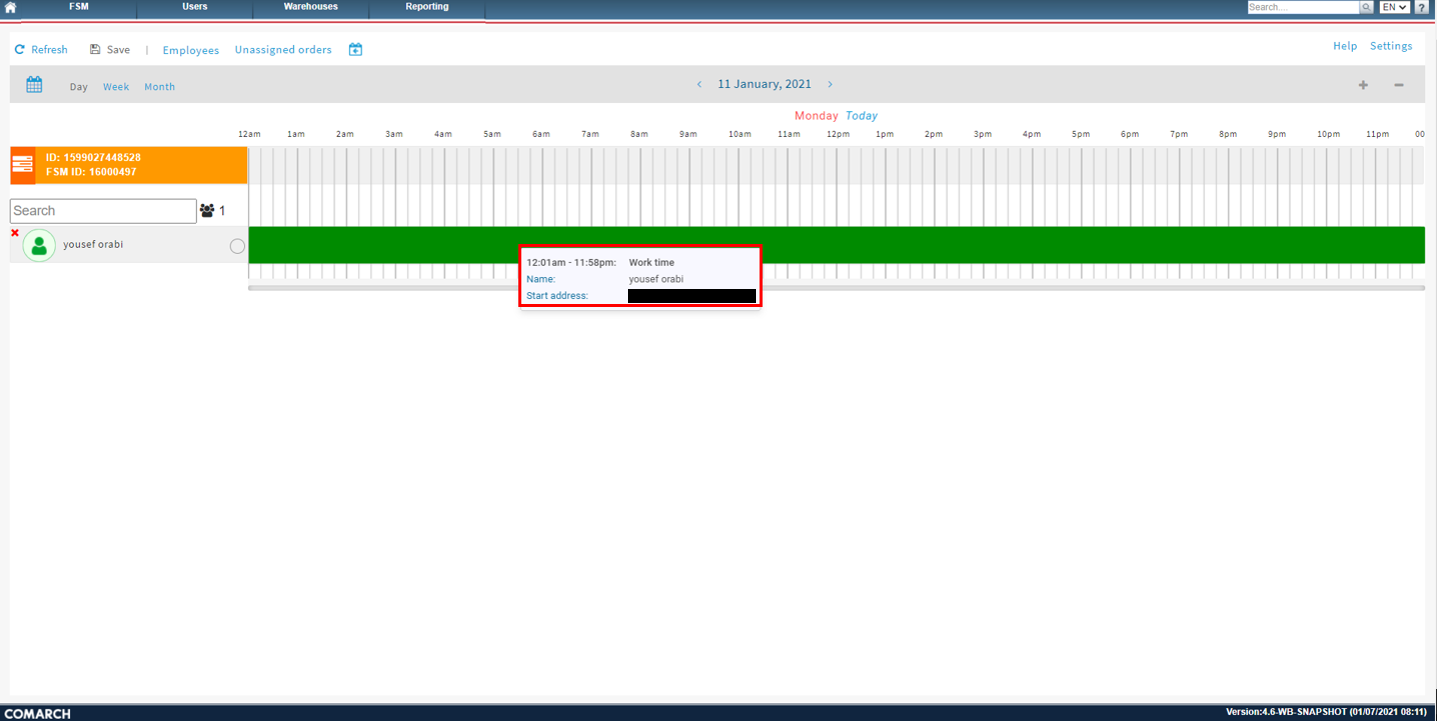
Extend Event to fill the whole day
This will change the start time to 12:01am and the end time to 11:58pm:
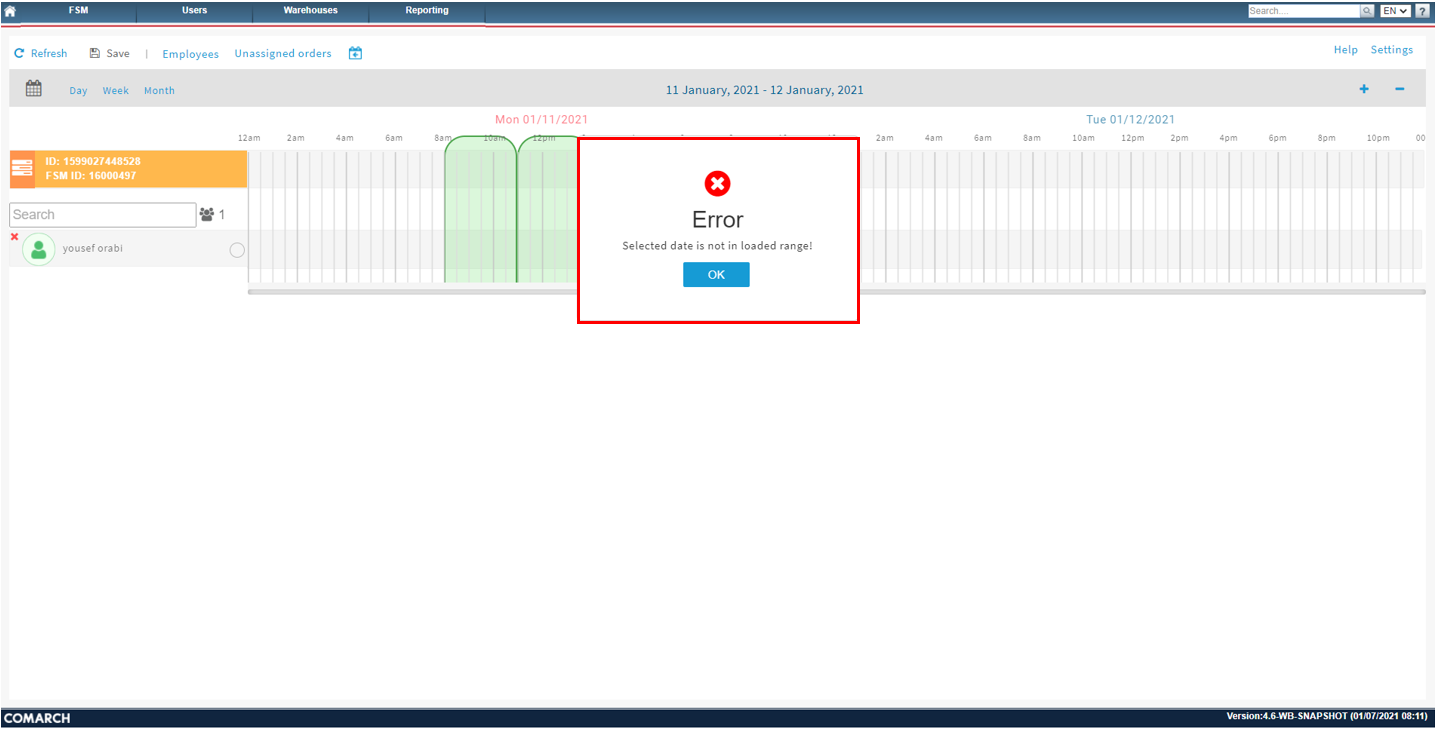
Error Selected date is not in loaded range!
This message displays when trying to insert the work order time frame (insert task Light Green Bar) into a date that is currently not being displayed:
The current loaded date range is located at the top of the scheduling screen:
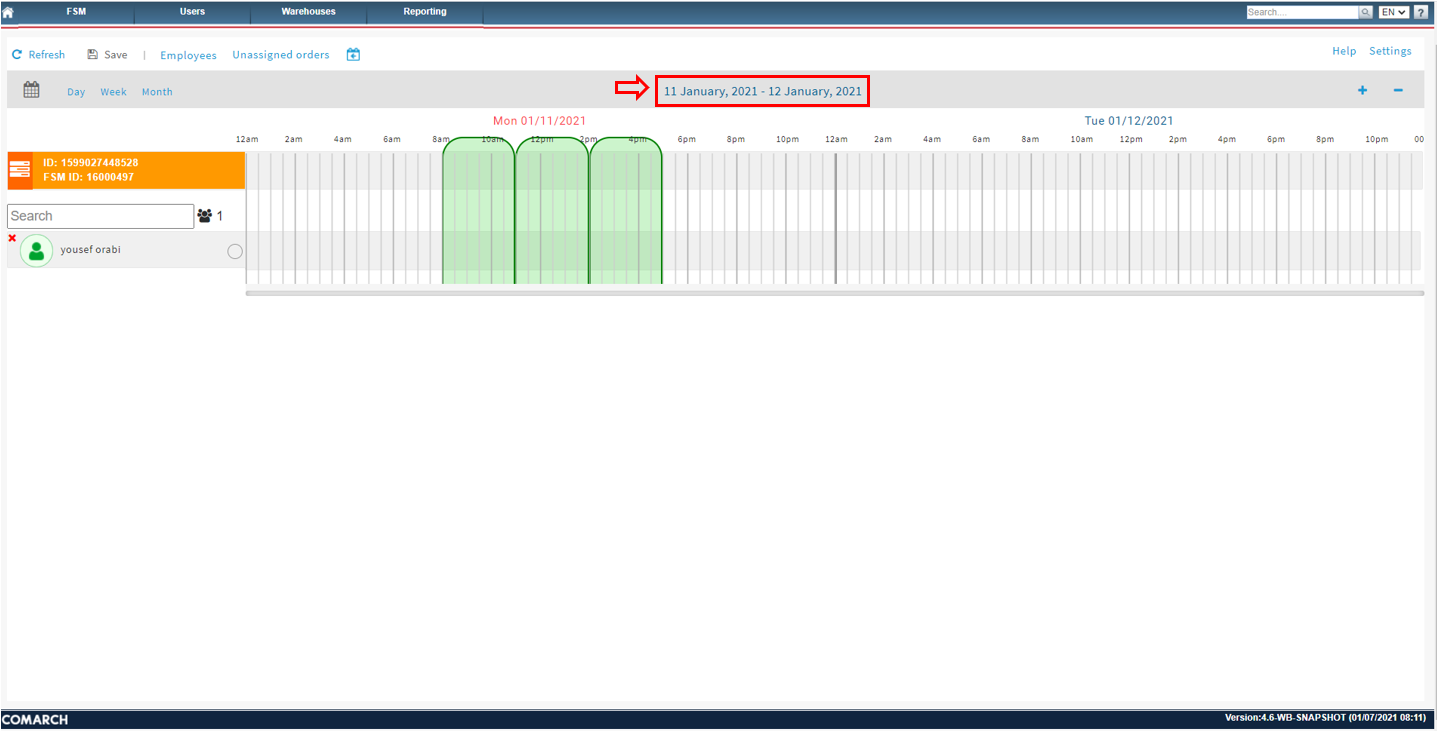
This will only allow the user to insert the work order time frame within this date range.
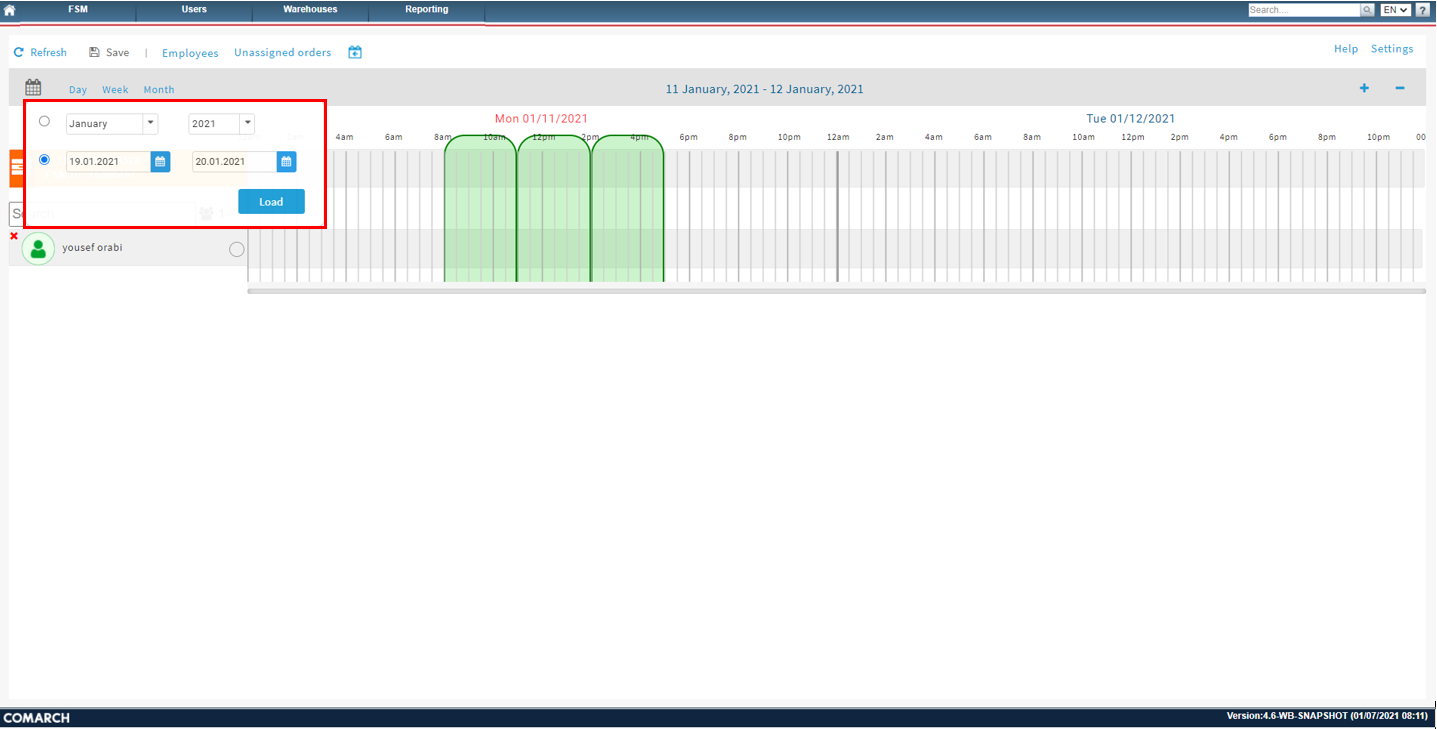
If the user needs to display a different date range, click on the calendar icon:

The Calendar Icon pop up will appear. This allows the user to enter the desired date range:
Select the Desired to and from date range
Click Load
The new date range entered will now be displayed:
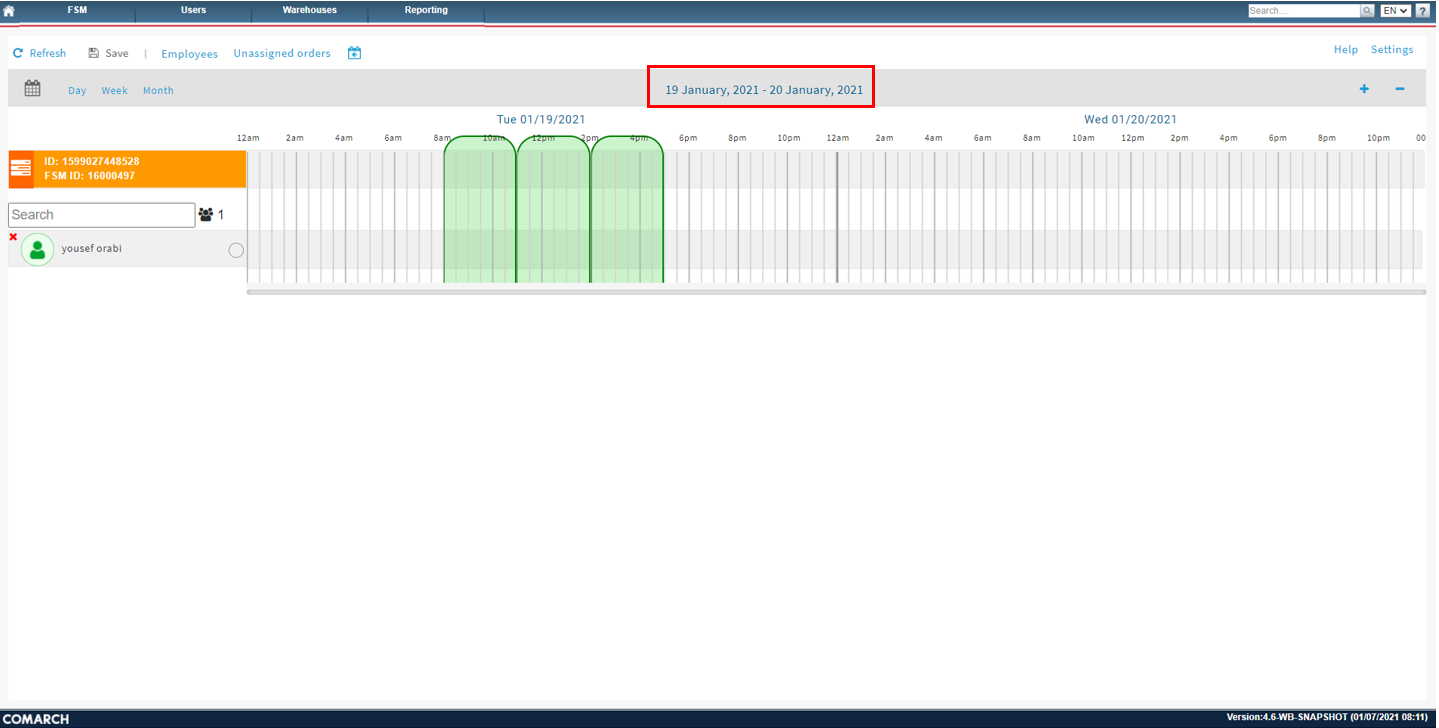
This will now allow the user to insert the work order time frame during the date range displayed.
To return to the work order, click the FSM ID