SurfBeam 2 Modem Provisioning Job Aid
Summary
This Job Aid covers:
Provisioning Setup Verification
This Job Aid supports all Technician audiences. This process applies for the SurfBeam 2 and Exede WiFi Modems, with accounts that may or may not have Exede Voice.
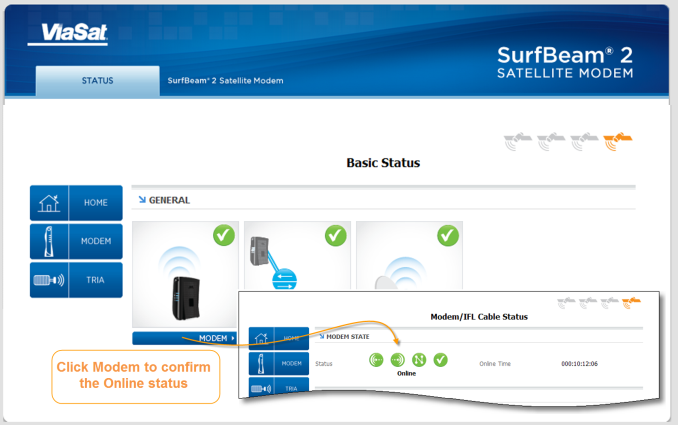
At the end of the Point and Peak process, the right arrow was clicked to have the modem attempt Modem Lock. When the modem has locked, the Modem Browser Interface will show 3 green checkmarks.
Modem Provisioning
After obtaining Modem Lock, close the browser, and open it again.

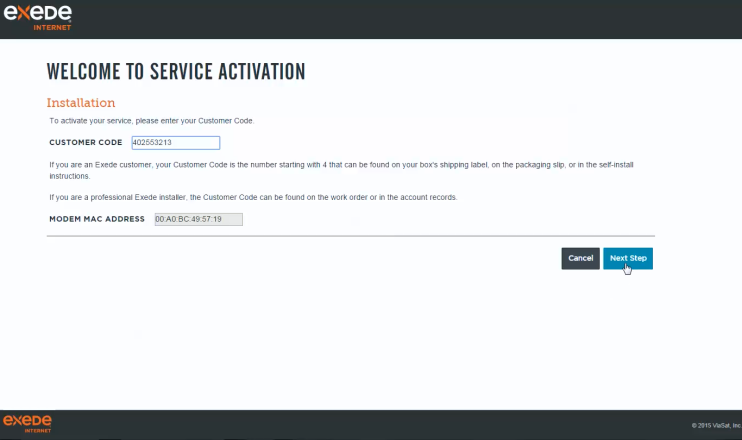
When the computer browser opens, the Gateway Network automatically directs the browser to the Provisioning Network. The Provisioning System then displays the Welcome to Service Activation page.
On this page, enter the Customer Code in the Customer Code field. This code is found on the work order or in the Installation area of the Quick Flash tab in the Support Portal.
Click Next Step to display the next page.
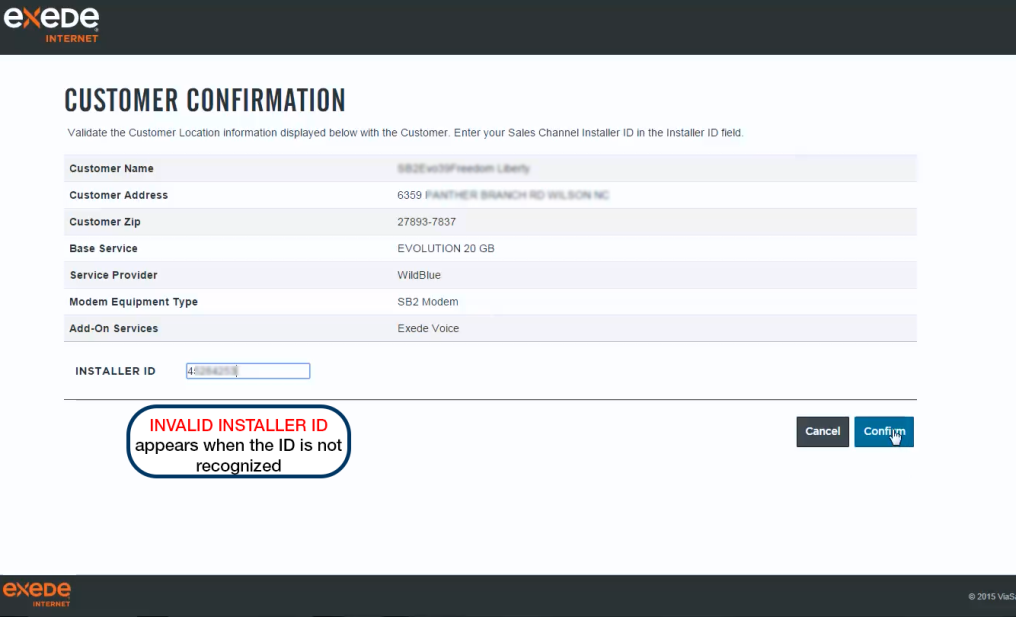
On the Customer Confirmation page validate the Customer name and address. If it is incorrect click Cancel and re-enter the correct Customer Code.
Enter the Installer ID in the Installer ID field. Remember each ViaSat Partner requires the Technician use a certified Installer ID associated with their installations. A Technician may have more than one Installer ID and must use the correct ID for each Partner Installation.
Note: The provisioning system will verify the Installer ID. The ID can fail:
- Non-existent: The ID does not exist in the database.
- Expired: The Technician did not complete recertification and the ID Expiration Date is past
- Wrong Partner: The Installer ID exists in the database as certified, but it is not associated with the partner that issued the installation order.
All Installer IDs are available on the technician’s dashboard in ViaSat Central.
Note: This step only applies to ViaSat retail accounts.
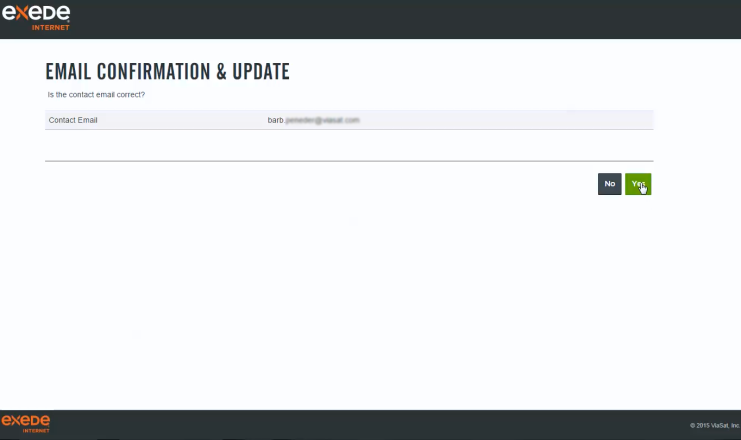
After the customer information and Installer ID are verified, the system will ask to verify the customer’s contact email account. If it is not correct select No and update it.
Otherwise, click Yes.
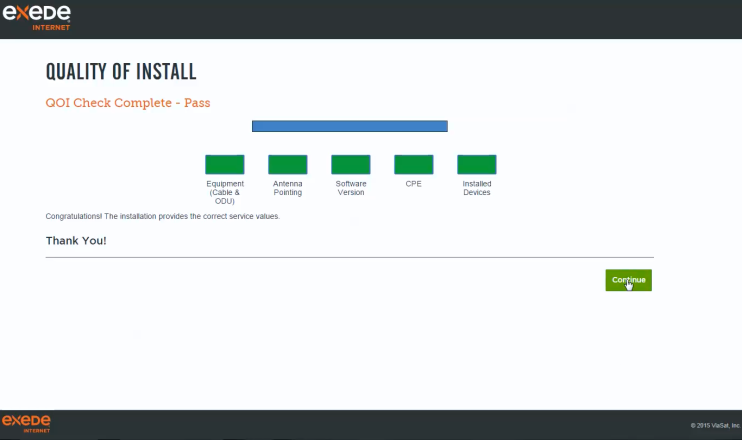
The Quality of Install (QOI) page displays. This Quality of Install test can take up to one minute.
If the verification system is unavailable, an Error page displays. This page reminds the Technician to use the eSVT/SVT to validate the QOI of the installation.
If any red values appear, the technician must repair the installation until all values appear green.
Click Run QOI to have the system recheck the Quality of Install. Do not restart provisioning.
Click Continue to continue the Provisioning Process.
Does the work order include Exede Voice?
- If yes, go to section Exede Voice Activation, below.
- If no, go to Step 7.
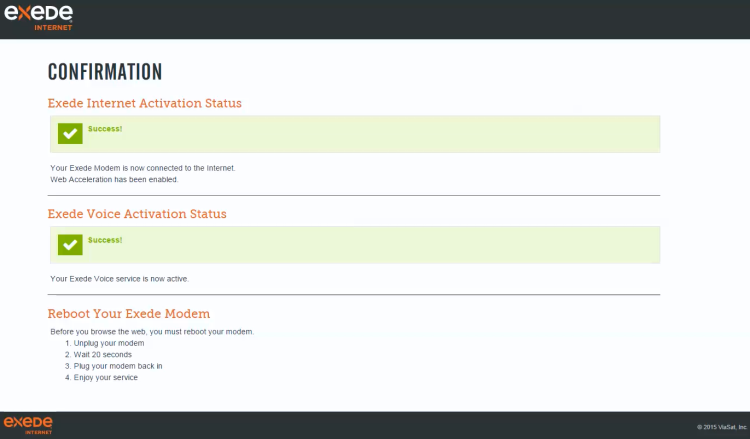
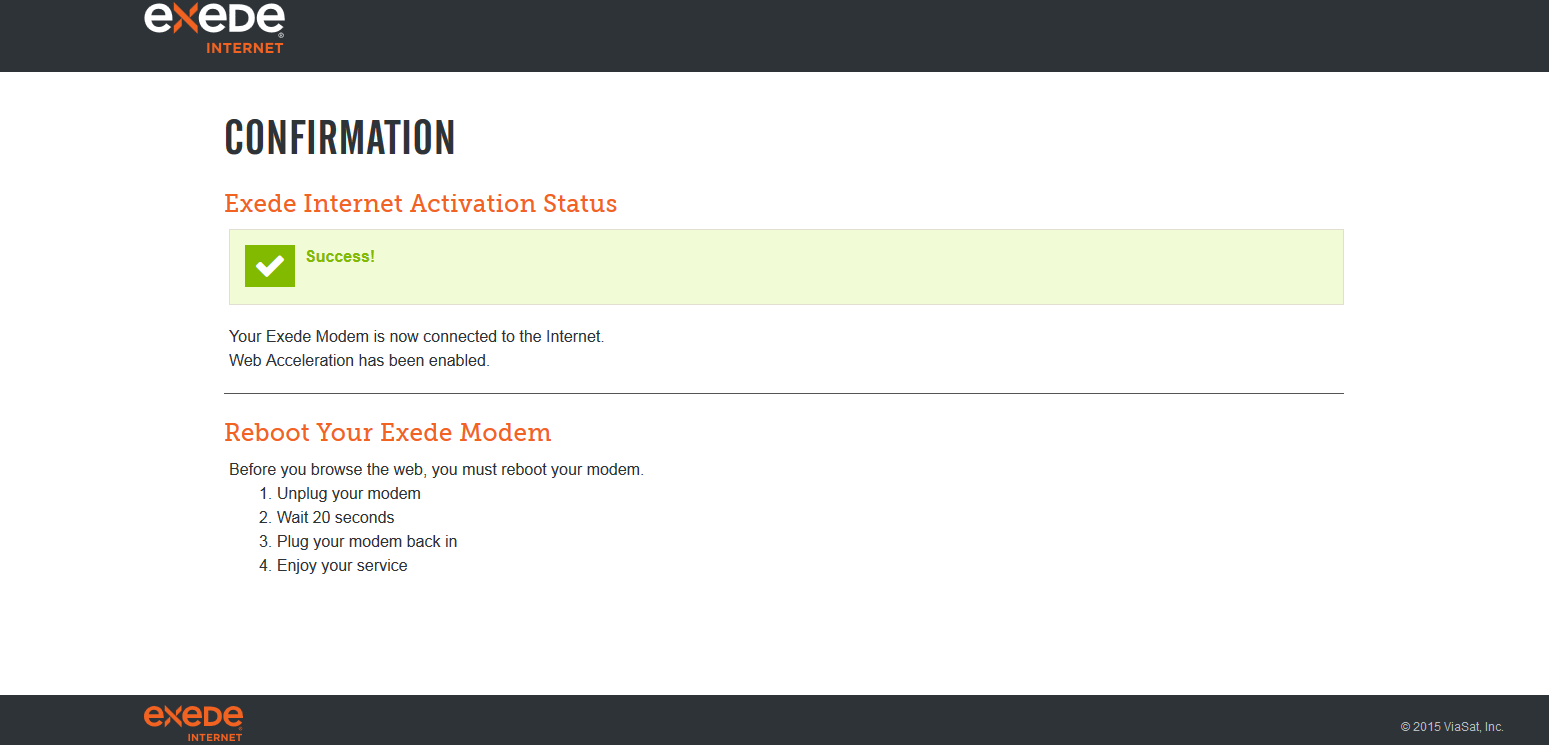
Once QOI testing passes the Confirmation page displays.
Follow the on-screen steps to reboot the modem. When that is complete, open the browser and complete Customer Internet Test to validate that the computer can access and surf the internet.
Exede Voice Activation
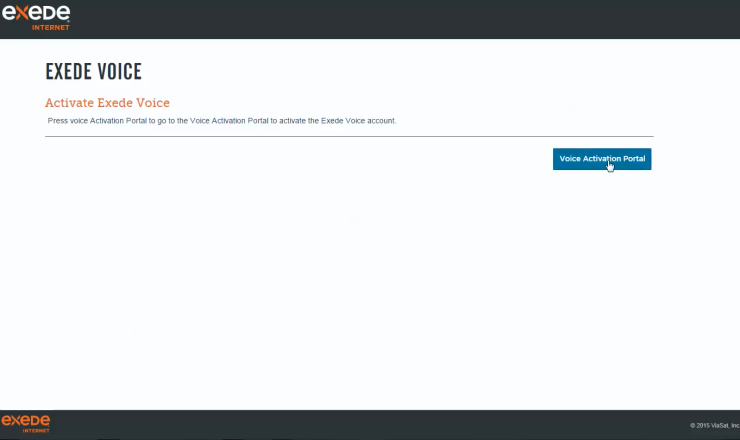
If an order has Exede Voice as part of a new service, the activation process begins immediately after QOI.
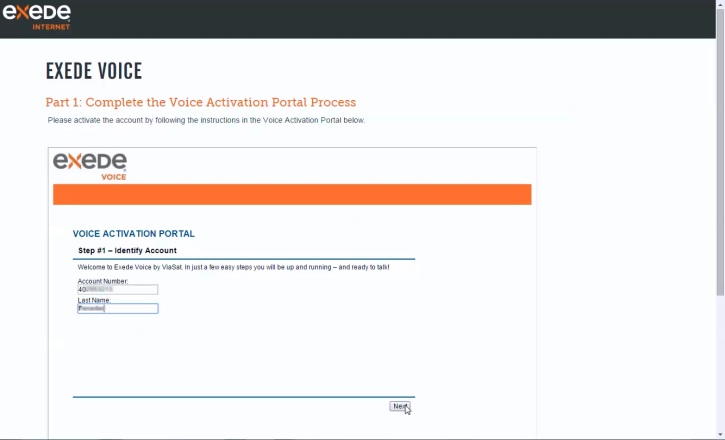
The Exede Voice page displays. Click Voice Activation Portal to begin activation.
Important! The next series of pages appear as part of Part 1. Work within these smaller frames until you reach the Accept button (Step 8 below)
Type the same Customer Code used to provision the Internet service.
Type the Customer’s last name.
Click Next.
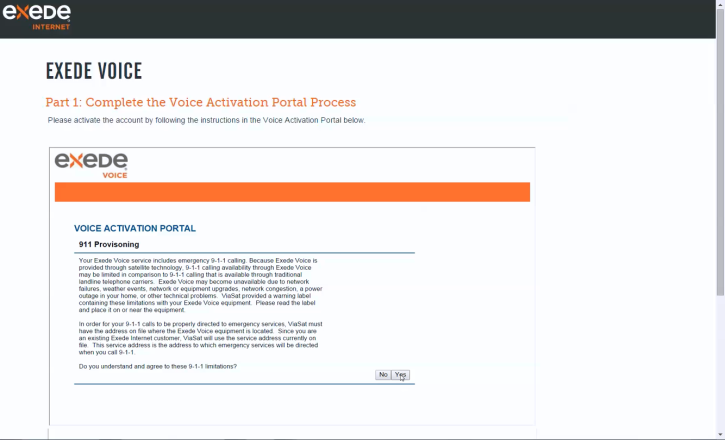
Review the 911 Provisioning information with the Customer.
When they understand the information, click Yes.
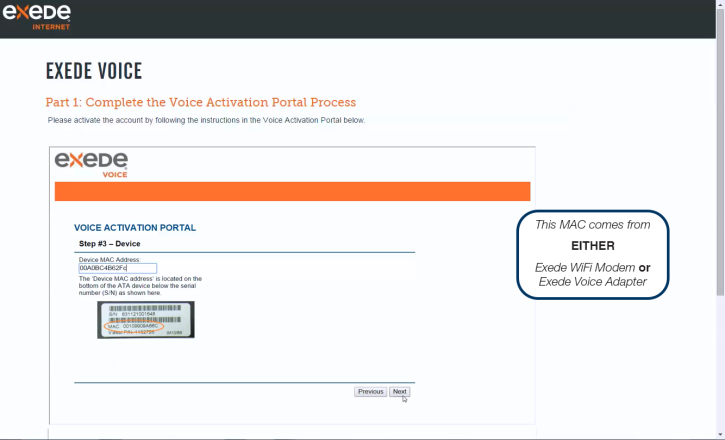
Type the Device MAC address.
The MAC address comes from EITHER the
- Exede WiFi Modem
- Exede Voice Adapter
Both devices use this process for activation.
Click Next.
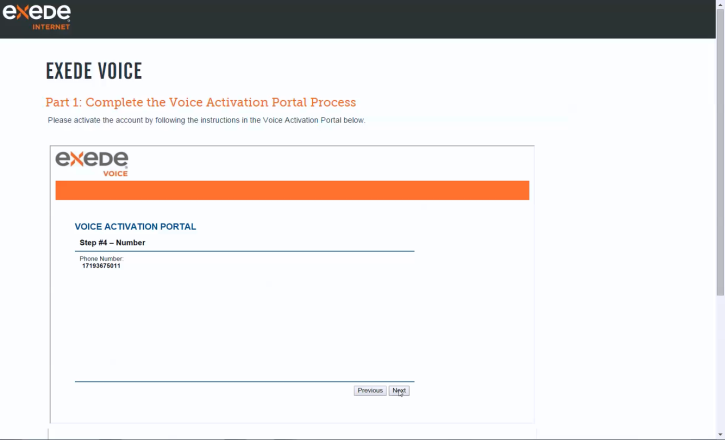
Provide the phone number to the customer.
Click Next.
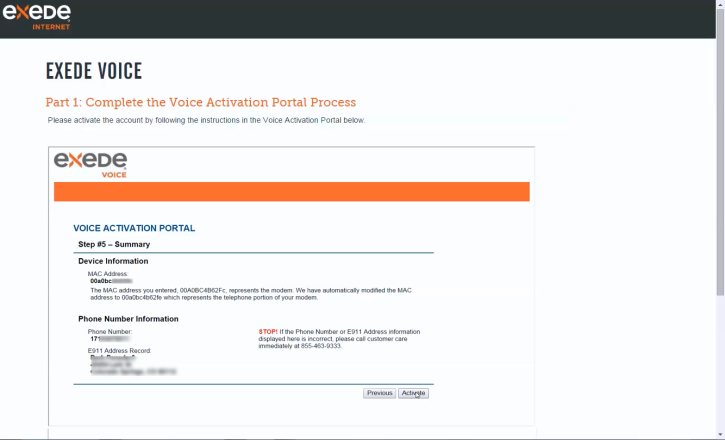
Review the Summary page, and ask the customer to confirm all of the information.
STOP! If any information is incorrect, call the number on the screen before proceeding.
Click Activate and WAIT for the system to respond.
If the system does not respond within 5 minutes, open your browser and type in the URL below, and complete activation of the service.
https://viasat.user.alianza.com/dap/
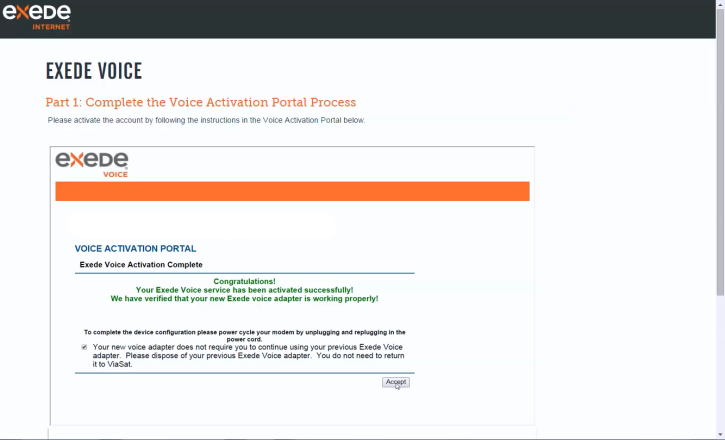
The Exede Voice Activation Complete page displays.
Check the box (if present) and click Accept and WAIT for the system to respond.
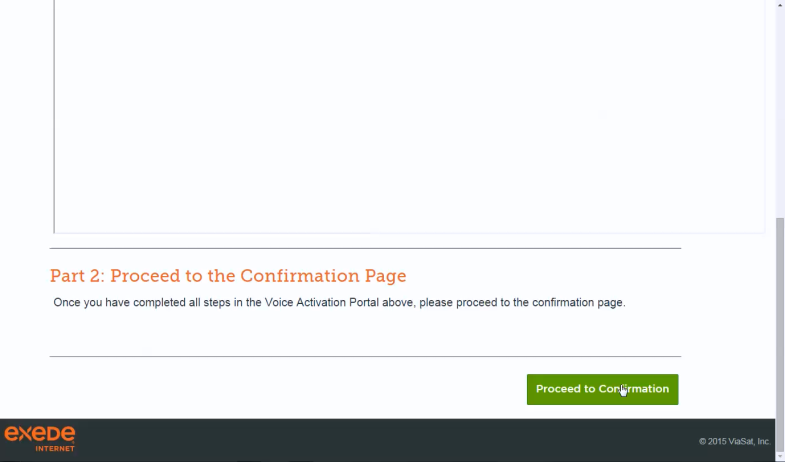
The system responds with a blank area (where you’ve been working previously).
Scroll to the bottom of the browser page, and click the green Proceed to Confirmation button.
The final Confirmation page displays.
Follow the on-screen steps to reboot the modem. When that is complete, open the browser and complete Customer Internet Test to validate that the computer can access and surf the internet.