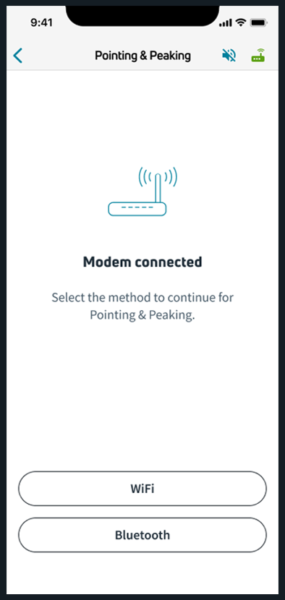
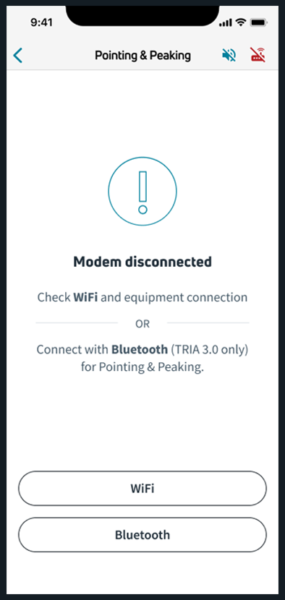
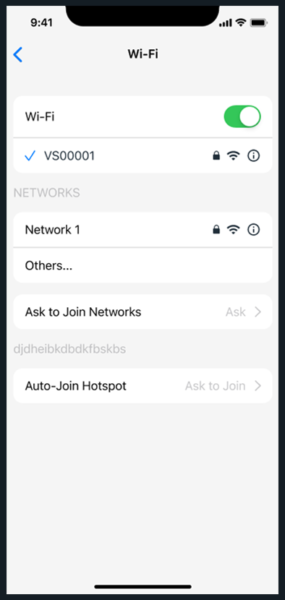
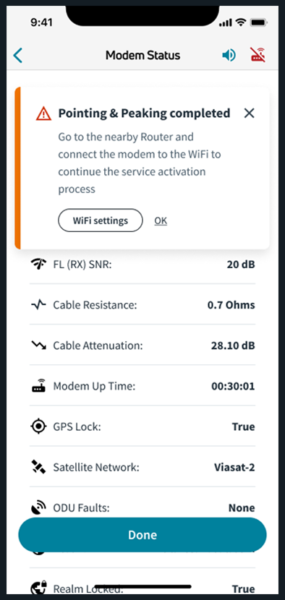
If connected or disconnected, you can continue the process via WiFi by pressing WiFi.
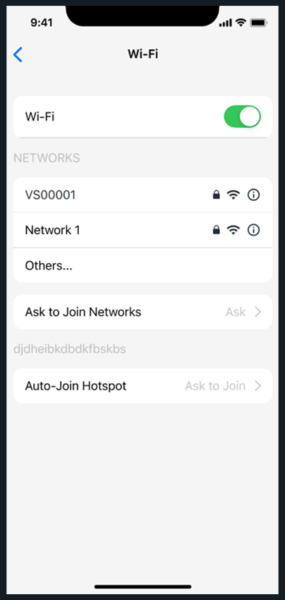
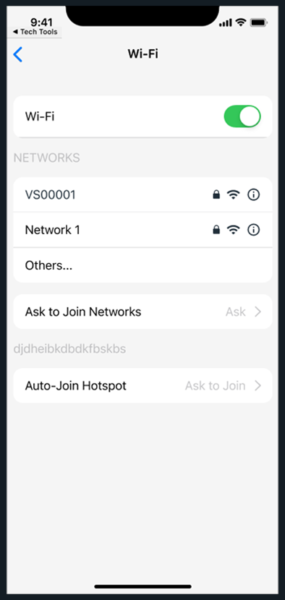
Press Ask to Join Networks and press the Viasat router (in this example, VS00001).
The Pointing & Peaking process can resume.
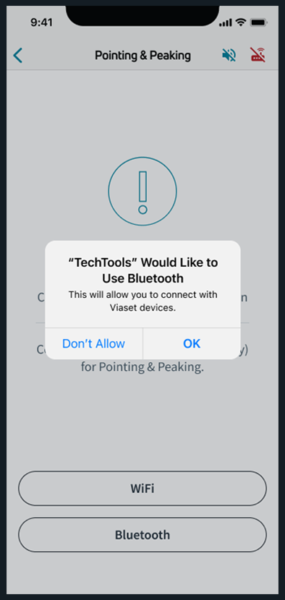
If connected or disconnected, you can continue the process via Bluetooth by pressing Bluetooth.
The first time you select Bluetooth, you’ll receive a permission pop-up.
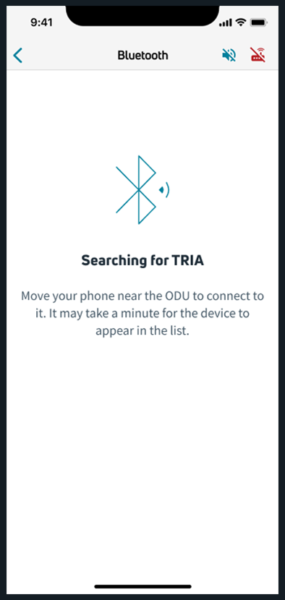
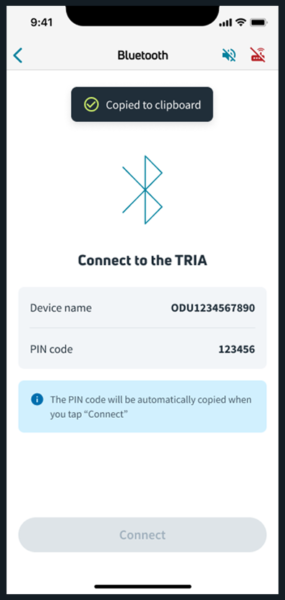
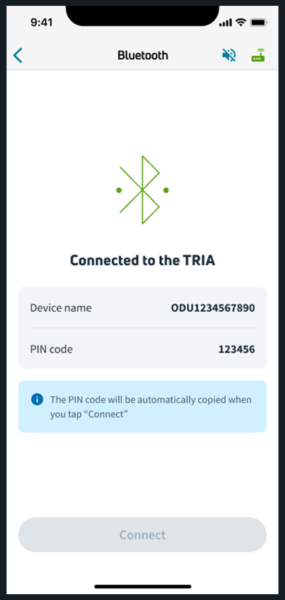
Move your device near the ODU.
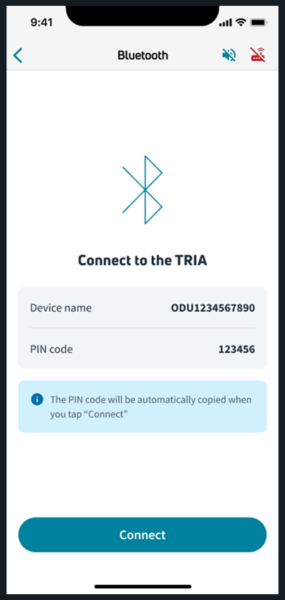
When the user presses Connect, the pin code is automatically copied into the system and feedback will appear to remind you.
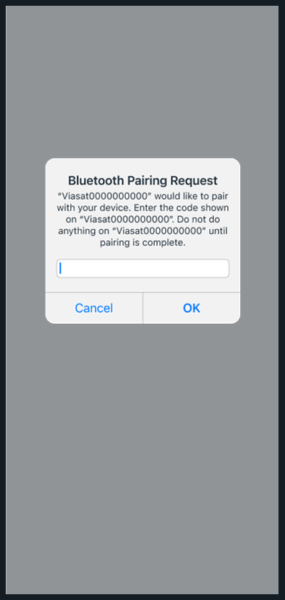
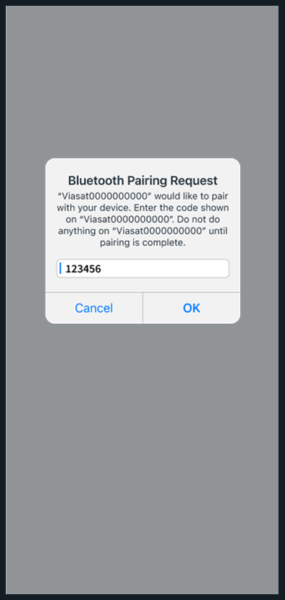
When the pin code pop-up appears, you can paste the pin or type it in manually.
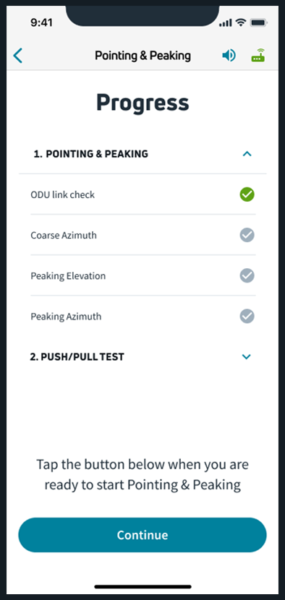
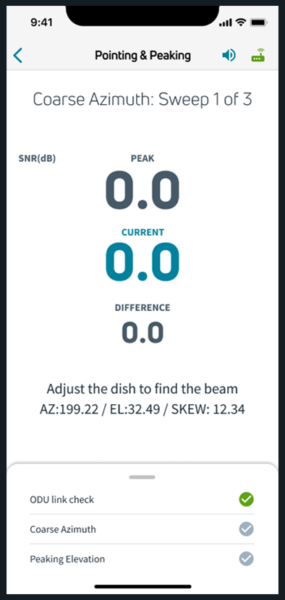
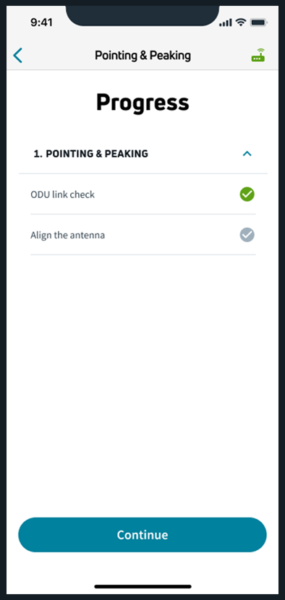
When the app connects to the TRIA via Bluetooth, it will automatically move to the Pointing & Peaking status screen. The ODU link check should turn green. Press Continue.
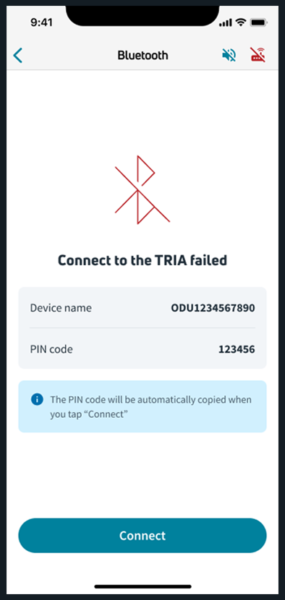
If the connection to the TRIA fails, press Connect and it will take you back to repeat the process starting with the copying of the pin.
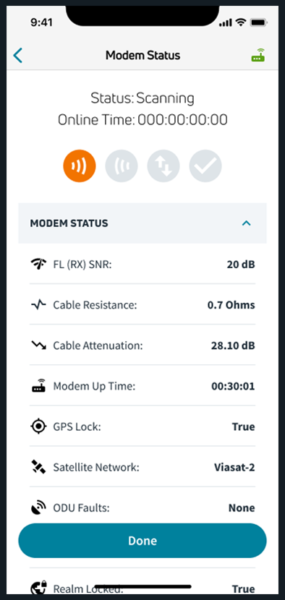
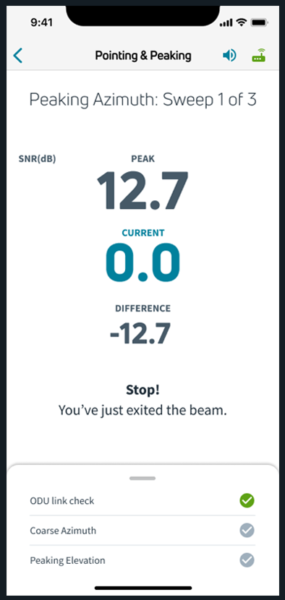
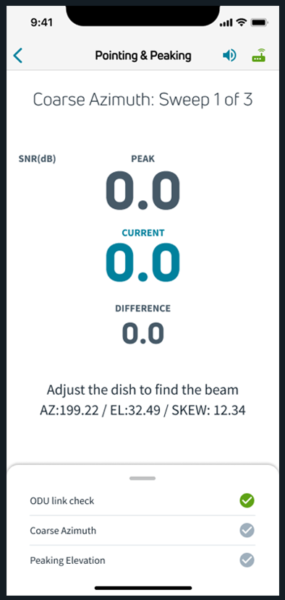
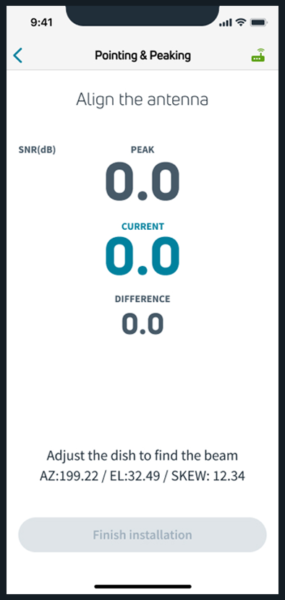
The process then moves into Coarse Pointing and the Signal to Noise Ratio (SNR) should rise.
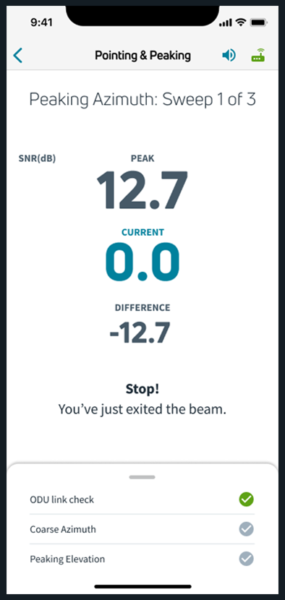
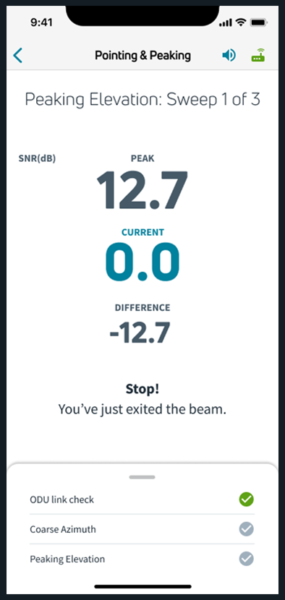
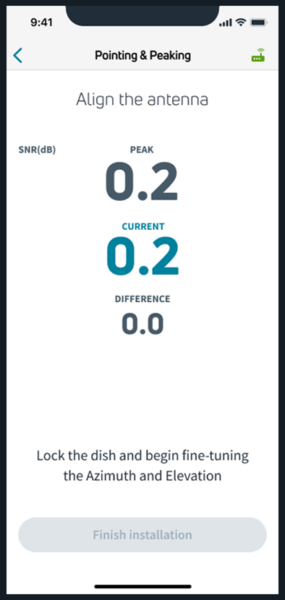
Once successfully Coarse Pointed, the system will move into the Fine Peaking stage. Throughout the sweeps, the SNR strength should rise.
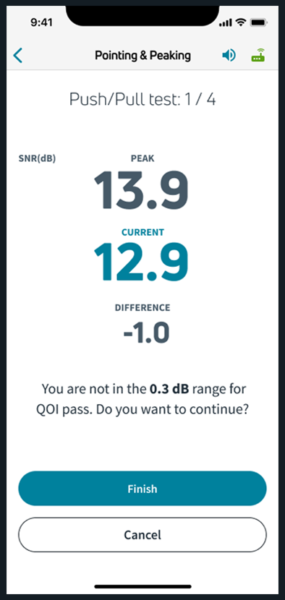
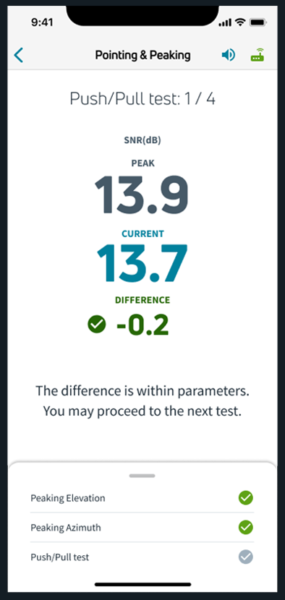
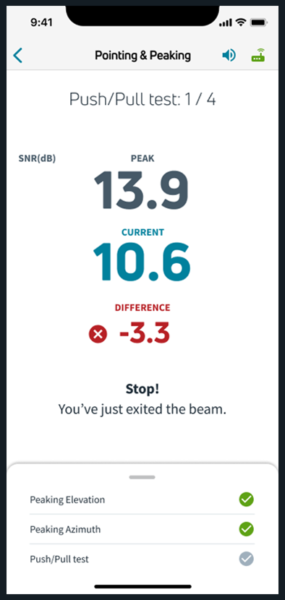
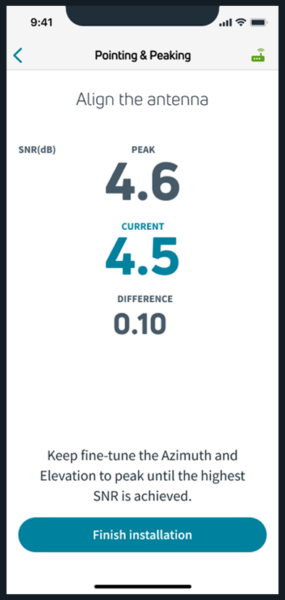
Once successfully Fine Peaked, the system will move into the Push/Pull stage. Press Finish.
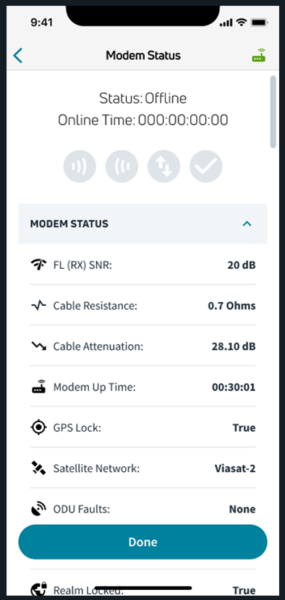
If Pointing & Peaking is done via Bluetooth, the app will alert you to change the connection to WiFi to proceed with the modem lock process.
In your WiFi settings, select the Viasat router (in this example, VS00001). Return to the app, and continue the Modem Lock process.
Finishing Pointing & Peaking in progress
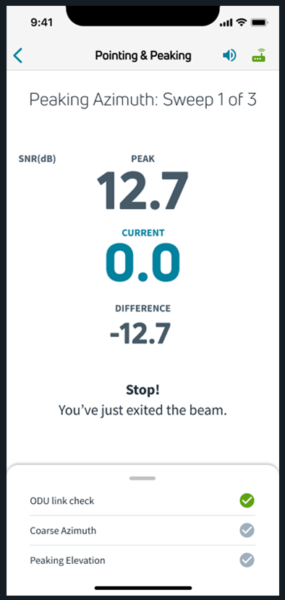
If at any time you wish to see the status of or interrupt the Pointing & Peaking process, swipe up on the bottom bar to expand the Progress view. Press Finish and you’ll be met with a pop-up of confirming Yes or No.
Pressing Yes will take you to the Modem Lock page.
Pressing No will take you back to Continuing Pointing & Peaking.
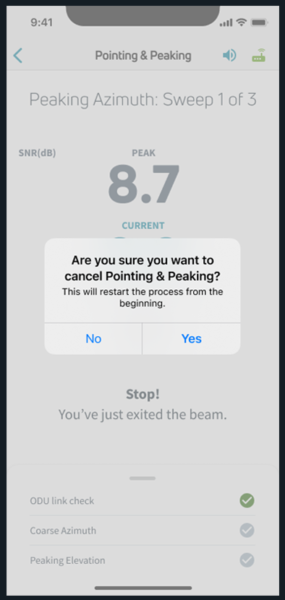
Cancelling Pointing & Peaking in progress
Press Cancel and you’ll be met with a pop-up of confirming Yes or No.
Press Yes and you’ll be directed to the Modem Lock page.
Press No and you’ll be taken to Continue the Pointing & Peaking process.
Pre-onsite installation requirements for SURFBEAM 2 (SB2)
SurfBeam 2 (SB2) terminals do not have inherent WiFi connection capabilities. In order for an installation to succeed, a connection between the technician’s third-party router and the terminal must occur (for software updates and related activities). You will connect the terminal to the router through an Ethernet cable and will connect to the router using your mobile device.
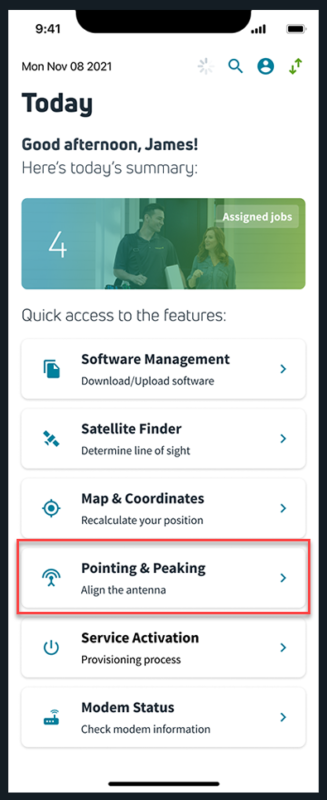
Press Pointing & Peaking from the Dashboard.
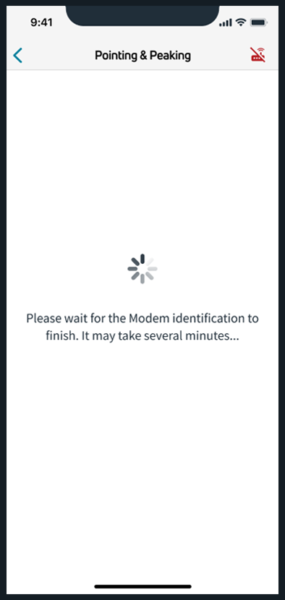
The app will assess the modem connection.
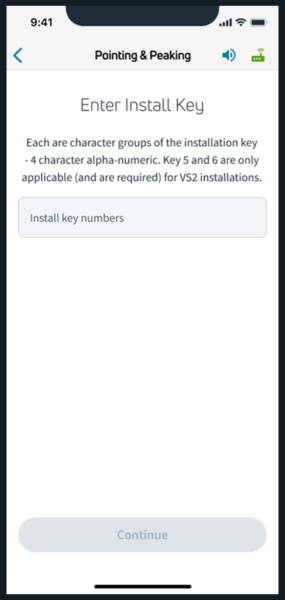
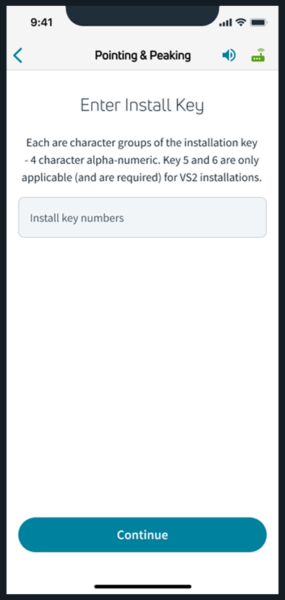
Next, enter the 16-character Install Key and press Continue.
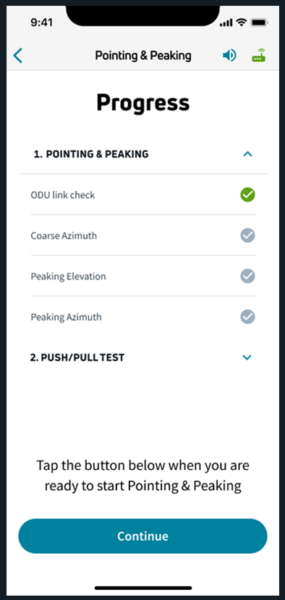
You will be prompted to press Continue to begin the Pointing & Peaking process.
After Pointing & Peaking, press Finish installation and the app will move on to Modem Lock process.