Viasat WiFi Gateway – Router Settings Tab
Summary
This Job Aid covers:
This Job Aid supports the Technician audience.
Find the password sticker on the side or bottom of the Viasat WiFi gateway.

Locate the Admin Password
Note: This password is used when configuring the gateway.
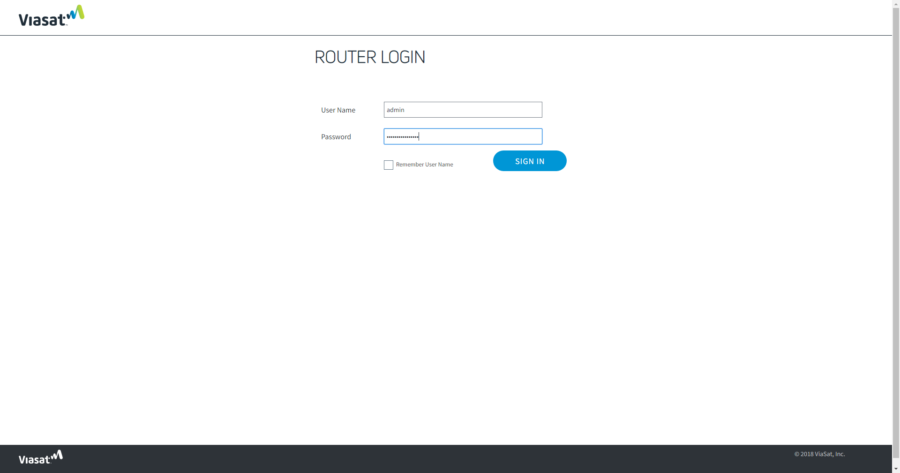
In a browser, type 192.168.100.1 as the URL
Ask the customer to enter the username and password of:
- Username = admin
- Password = Admin password from the gateway’s sticker
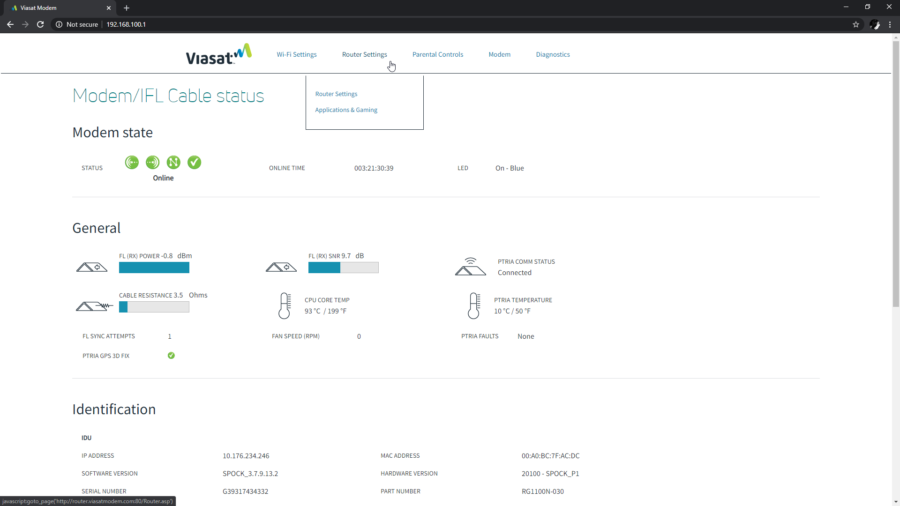
Click the Router Setting tab at the top of the page.
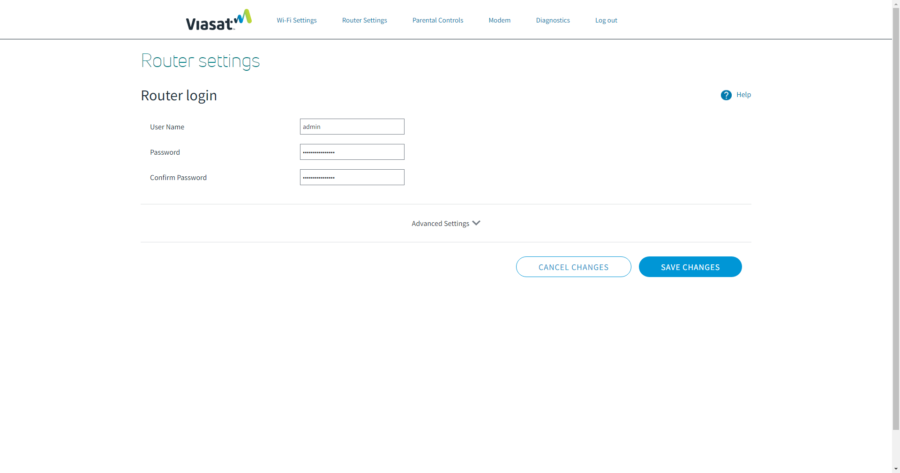
Log in to the router again with the admin username and password
- Username =admin
- Password = Admin password from the gateway’s sticker
- Confirm Password = Type the password again
Scrolling down the page, these sections appear. Use the information to make any desired customizations.
Advanced Settings
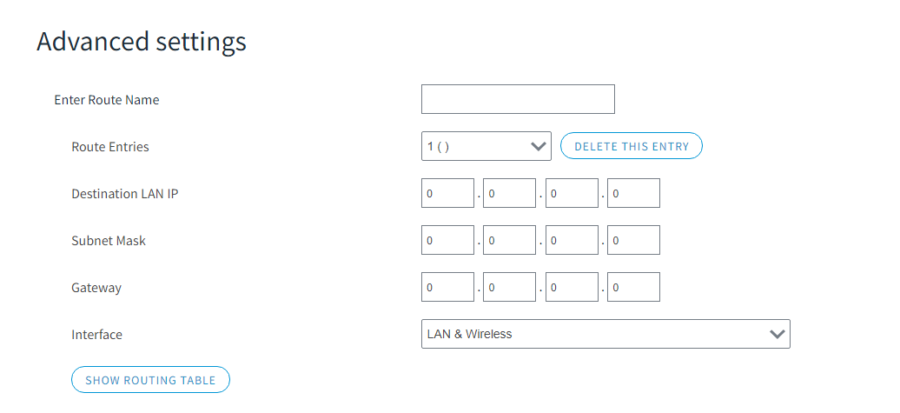
Use the information to make any desired customizations under the topic Advanced Settings.
Enter Router Name – Type a name for the router about to be created
Route Entries – Create up to 20 static routes between the router and another network. Click Delete This Entry to remove a static route
Destination LAN IP – Type the IP address of the remote network to which you are assigning a static route
Subnet Mask – Type the subnet mask for the destination LAN IP address
Gateway – Type the IP address of the gateway server that enables communication between the router and the remote network
Interface – Select the location of the Destination LAN IP address. Click Show Routing Tables to view available static routes
Router Information
Use the information to make any desired customizations under the topic Router Information.
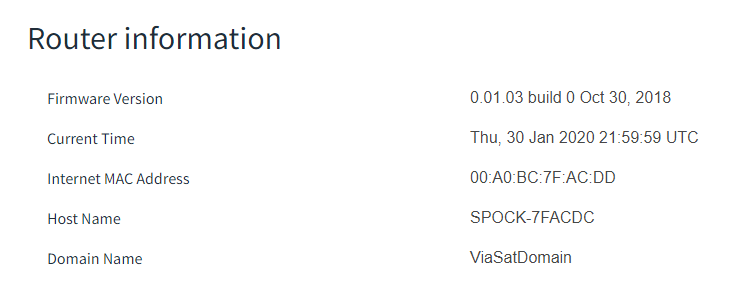
Firmware Version – The version number of the current software
Current Time – Local time
Internet MAC Address – The router’s MAC address as seen from the Internet
Host Name – The host name of the router
Domain Name – The domain name of the router
Local Network Setup
Use the information to make any desired customizations under the topic Local Network Setup.
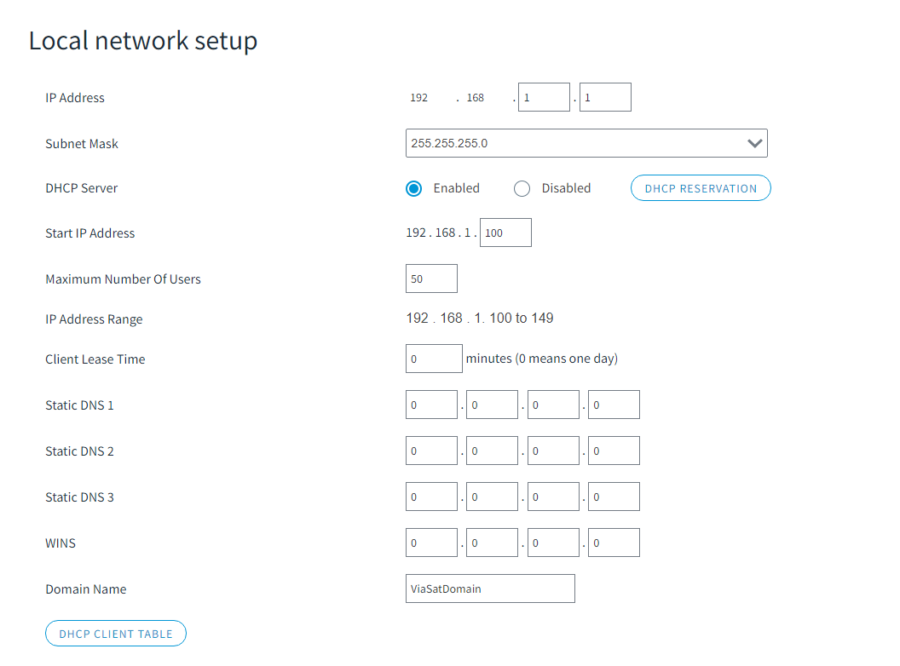
IP Address – The router’s local IP address
Subnet Mask – The router’s local subnet mask
DHCP Server – Assigns dynamic IP addresses to the local network devices. To reserve the assigned IP address, click DHCP Reservation
Start IP Address – Specifies the starting IP address for the range of available IP addresses
Maximum Number of Users – Type the maximum number of available IP addresses
IP Address Range – The range of available IP addresses
Connection Type – Automatic Configuration – DHCP
Host Name – Enter a host name for the Router, if required by your ISP
Internet IP Address – The router’s local IP address as seen from the Internet
Subnet Mask – The router’s local subnet mask
Default Gateway – The gateway used by the router
Static DNS (Domain Name Server) 1 – The IP address of the first DNS server
Static DNS 2 – The IP address of the second DNS server
DNS 3 – Blank
DDNS (Dynamic Domain Name Server)
Use the information to make any desired customizations under the topic DDNS.

DDNS Service – Enable or disable the service
Time Settings
Use the information to make any desired customizations under the topic Time Settings.

TimeZone – Setting the router’s operating time zone
Firewall
Use the information to make any desired customizations under the topic Firewall.
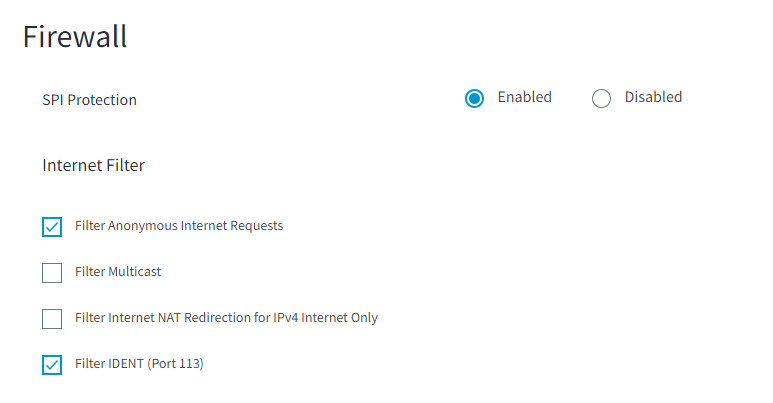
SPI (Serial Peripheral Interface) Protection – SPI firewall protection helps protect your local network from Internet threats
Internet Filter –
Filters anonymous Internet requests – This filter blocks Internet requests from unknown sources, such as ping requests
Filter Multicast – This filter blocks multicasting, which allows a single transmission to simultaneously reach specific recipients within your local network
Filter Internet NAT (Network Address Translator) Redirection for IPv4 (Internet Protocol version 4) Internet Only – This filter prevents a local computer from using a URL or Internet IPv4 address to access the local serverFilter IDENT (Port 113) – This filter keeps port 113 from being scanned by devices from the Internet
VPN Passthrough
Use the information to make any desired customizations under the topic VPN Passthrough.
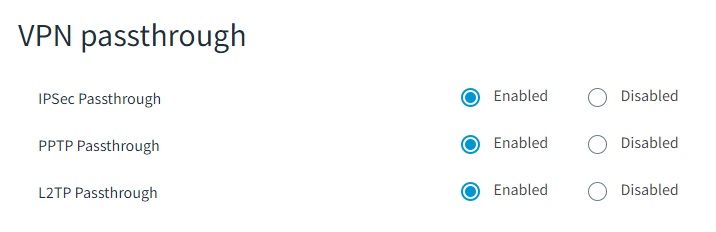
IPSec (Internet Protocol Security) Passthrough – The VPN (Virtual Private Network) client(s) on the local network can establish an IPSec VPN tunnel through the Router
PPTP (Point-to-Point Tunneling Protocol) Passthrough – The VPN client(s) on the local network can establish a PPTP VPN tunnel through the Router
L2TP (Layer 2 Tunneling Protocol) Passthrough – The VPN client(s) on the local network can establish an L2TP VPN tunnel through the Router
Management
Use the information to make any desired customizations under the topic Management.
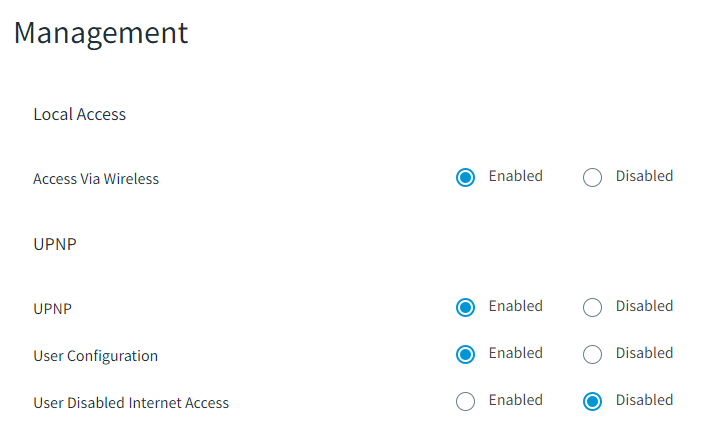
Local Access
Access Via – HTTP (unsecure connection) and/or HTTPS (secure connection)Access via Wireless – To allow wireless access to the Router’s browser-based utility
UPnP (Universal Plug n Play) – allows the appropriate operating system to automatically configure the Router for various applications, such as online gaming and VoIP calls
Users Configuration – If you want to be able to make manual changes to the Router while using the UPnP featureUsers Disable Internet Access – To prevent local network users from disabling your Internet connection through the UPnP feature, keep the default Disabled
Back Up and Restore
Use the information to make any desired customizations under the topic Back Up and Restore.
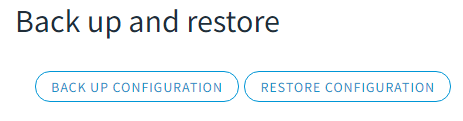
Back Up Configuration – To back up the Router’s configuration settings, click this option and follow the on-screen instructions
Restore Configuration – To restore the Router’s configuration settings, click this option and follow the on-screen instructions (You must have previously backed up the Router’s configuration settings)
Bridge Mode
Use the information to make any desired customizations under the topic Bridge Mode.

Bridge Mode – connects two routers to share network resources, or to act as an additional access point on an existing network.
Cancel/Save Changes, Restore Factory Defaults
These buttons are just below the Advanced/Basic Settings toggle arrow, at the bottom of the Router Tab page.

When all changes are complete, click Save Changes To cancel changes before saving, click Cancel Changes
To remove saved changes, click Restore Factory Defaults. All changes are removed.
20250523