Adding Attachments to an FSM Work Order
Summary
This Job Aid covers:
This Job Aid supports the Fulfillment and Retail Dealer Technician audiences.
Adding Photographs
Follow these steps to add photographs to a work order in FSM.
- Launch FSM through your browser.
- Type the username and password, and click Login.
Use the username and password that matches the work order’s sales channel.
- From the FSM menu, select Browse Orders.
- Use one of these methods to locate the work order
- FSM ID number
- Service Agreement number (40XXXXXXX)
- Customer phone number
- Click Search at the bottom of the page.
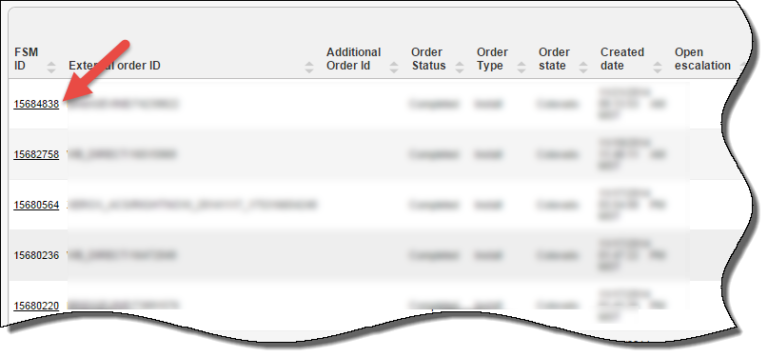
- In the search results list, locate the desired work order, and click the FSM ID link.
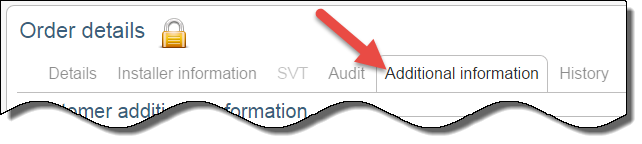
- When the work order opens, click the Additional Information tab.
Uploading Attachments
FSM supports uploading several different file types, which are all called attachments. Follow these steps to add photographs to the work order.
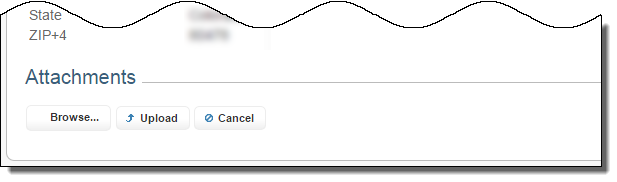
- Scroll to the bottom of the page, and locate the Attachments section.
- Click the Upload button. If an image has been selected in error, click the blue null sign next to the image, or click the Cancel button to end the upload entirely.
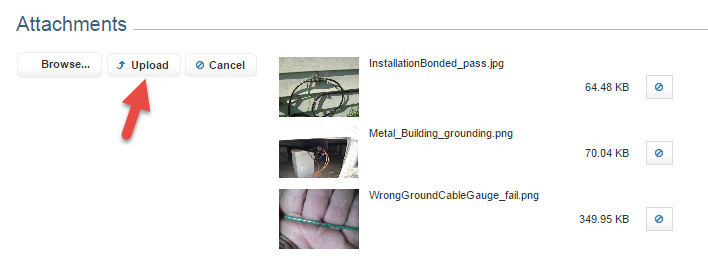
- The uploaded images look like this:
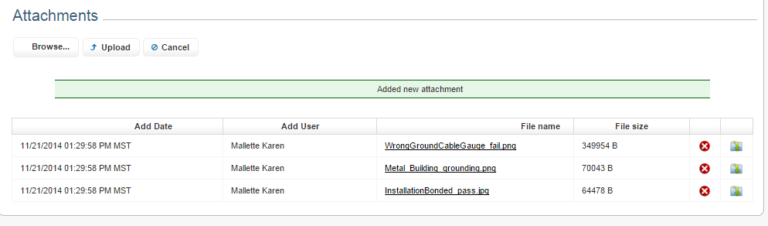
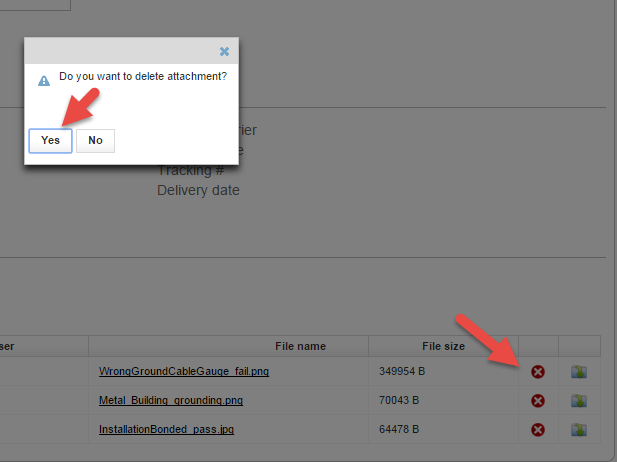
- To delete images uploaded in error, click the red circle/“X” icon. Then click “Yes” to confirm.
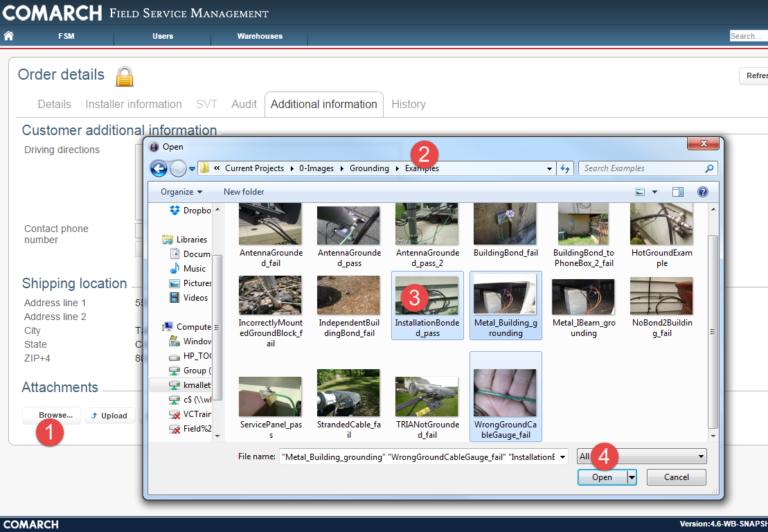
- Click the Browse button. (Step 1 in the image below)
- In the Open dialog, locate the photographs on the hard drive. (Step 2 in the image below)
- Click the file name (photograph). To select multiple photographs, hold down the CTRL key and click the additional photographs. (Step 3 in the image below)
- When all photographs are selected, click Open. (Step 4 in the image below)