This Job Aid supports ConVergence Technologies (Super-Agent) audience. This document details how to assist a Reseller with using the High Speed Internet Customer Portal.
Admin View
The purpose of the Admin view of the High Speed Internet Customer Portal is to give a Reseller (or WISP) a tool for assisting their subscriber with their Viasat service. When the Reseller is logged into the Admin view, they are able to
Log in as the Reseller and see the Customer Portal as the Reseller sees it
Log in as Reseller’s subscriber and see the Customer Portal as the Reseller’s subscriber sees it
Assist a Reseller on how to assist their subscriber with updating usernames, passwords and security questions
Assist a Reseller on how to assist a subscriber with understanding their current data usage
Assist a Reseller on how to assist a subscriber with purchasing additional data allowance with BuyMore
View all account transactions for a Reseller’s subscriber
During installation, the technician assists the subscriber as they create their account. Once it has been created, the subscriber appears in the Reseller’s Admin view, assigned to their Reseller.
Note: Resellers cannot create subscriber accounts. If the account is not created during installation and a subscriber later requests assistance creating their account, follow the steps outlined in Subscriber Training Job Aid for WISP/Reseller Technicians.
Sign In
The URL
https://admin.satelliteinternetco.com
Username/Password
The Reseller’s Admin view is created by ViaSat as part of their on-boarding process. The username and password are sent to the new super-agent via email, and is the same as the username/password for the Support Portal.
Tip! Log in now to practice while reviewing the rest of this desk reference.
First Time Sign in
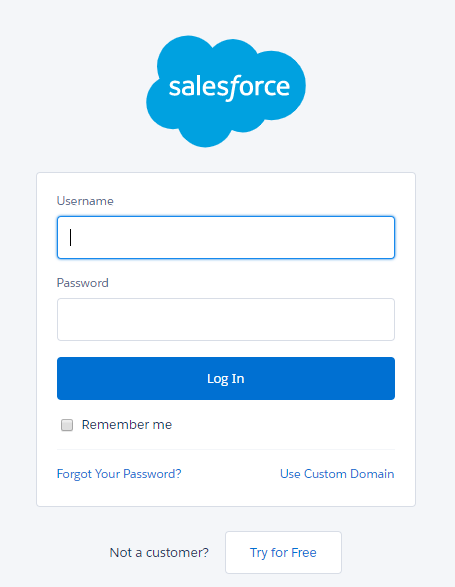
When logging in to Salesforce for the first time, a user will be required to activate or register their computer with Salesforce. The registration process is only required upon a user’s first login. After registration is completed, the user can follow the standard sign in process.
Enter your user name and password and click the Log in to Salesforce button.
(Actual site may appear slightly different)
Click the Email me a verification code button.
An email containing a 5-digit verification code will be sent to the user’s email address on file.
Copy the verification code.
Enter the 5-digit verification code in the open field.
Click the Verify my code and log me in button.
Note: The verification code is only valid for 24 hours. If an error message appears, validate the correct verification code was entered and return to step 2 to request a new validation code.
You will default to the Home tab of Salesforce. Select the Reseller Support Search tab to access the super-agent Admin View.
The super-agent Admin View will populate.
Standard Sign in
Enter your username and password and click the LOG IN TO Salesforce button.
(Actual site may appear slightly different)
You will default to the Home tab of Salesforce. Select the Reseller Support Search tab to access the super-agent Admin View.
The super-agent Admin View will populate.
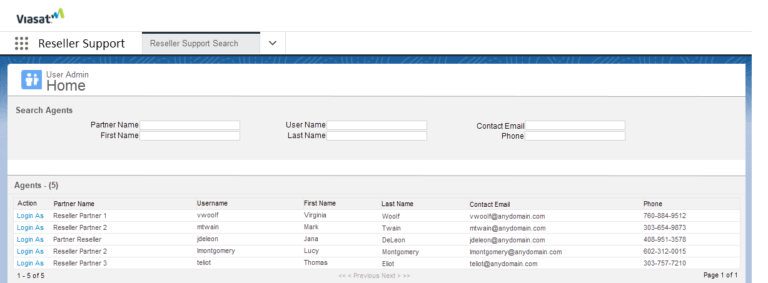
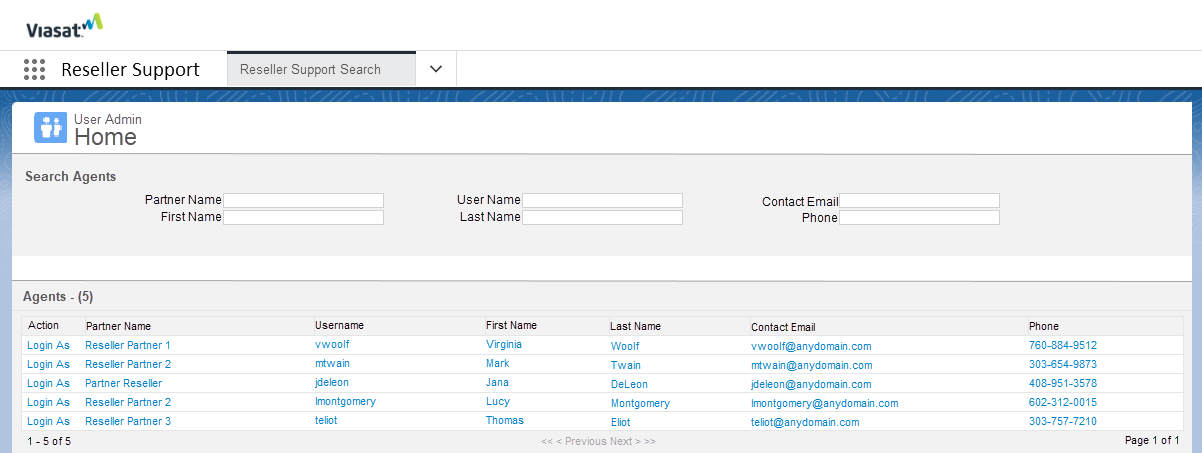
Login as Reseller
(Actual site may appear slightly different)
Search Agents
When searching for a Reseller, the super-agent may use any of the available fields in this top section, with information provided by the Reseller. We recommend using the Reseller’s Partner Name, Phone Number or Contact Email address, as these will return fewer results.
Agents
This section provides a list of the Reseller account(s) that meet the requirements given in the Search Agents section. From here, the super-agent selects the Login As link to login as the Reseller.
A super-agent is unable to change any Reseller profile information in the Portal, including a username or password.
Tip! The Reseller’s username and password are the same as the Support Portal. To reset a password, the Reseller must follow the Support Portal password reset process.
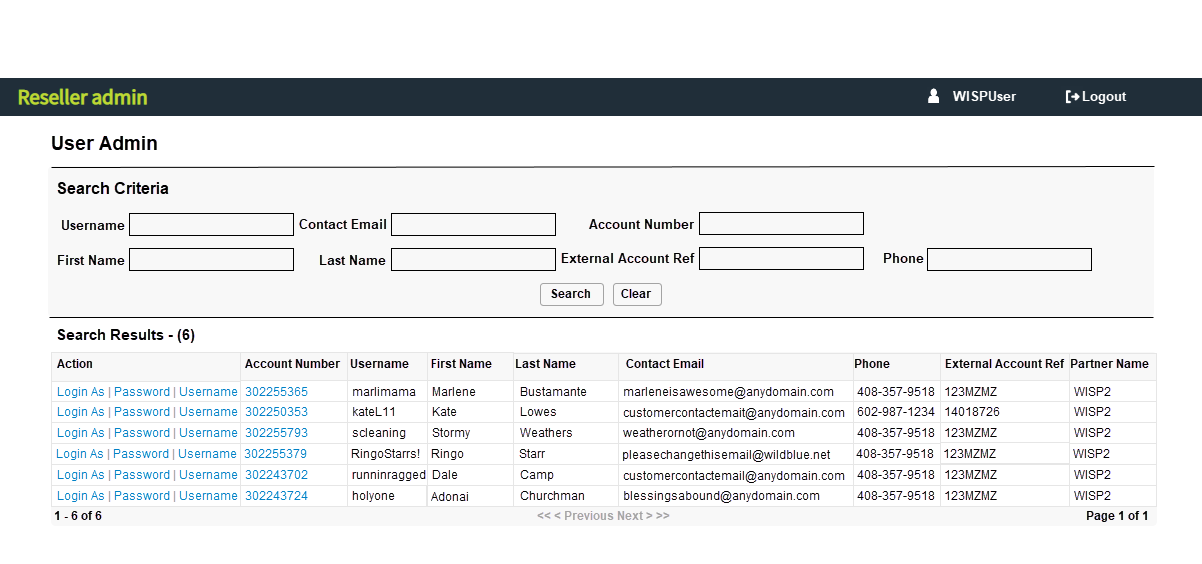
To assist a Reseller with performing an action for one of their subscribers, first Login as the Reseller. The super-agent will then be presented with reseller’s User Admin page.
Search Subscribers
When searching for a subscriber(s), the Reseller may use any of the available fields in this top section, with information provided by the subscriber. We recommend using the Phone Number or Contact Email address, as these will return fewer results.
Notes:
Account Number: This is the same as the Account Reference on the Quick Flash page of the Support Portal
External Account Reference: This is a number defined by the Reseller, added during Order Entry, and may reference the subscriber in another non-ViaSat system.
Subscribers
This section provides a list of the account(s) that meet the requirements given in the Search Subscribers section. From here, the Reseller selects any of the short cut links to carry out the desired action:
Log In As: Use shortcut link to see the Customer Portal as the subscriber sees it
Password: Use shortcut link to change the subscriber’s account password
Username: Use shortcut link to change the subscriber’s account username
3xxxxxxxx (Account Number): Use shortcut link to view all of the transactions on a subscriber’s account
Log In As Shortcut
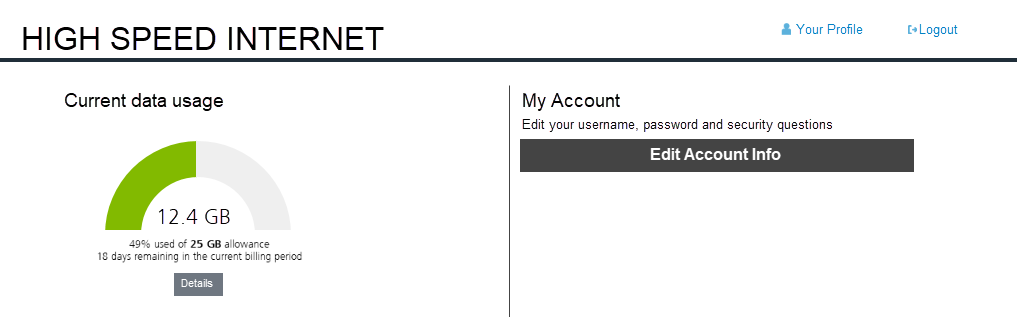
The Log In As shortcut link loads the same dashboard of the Customer Portal that the subscriber sees.
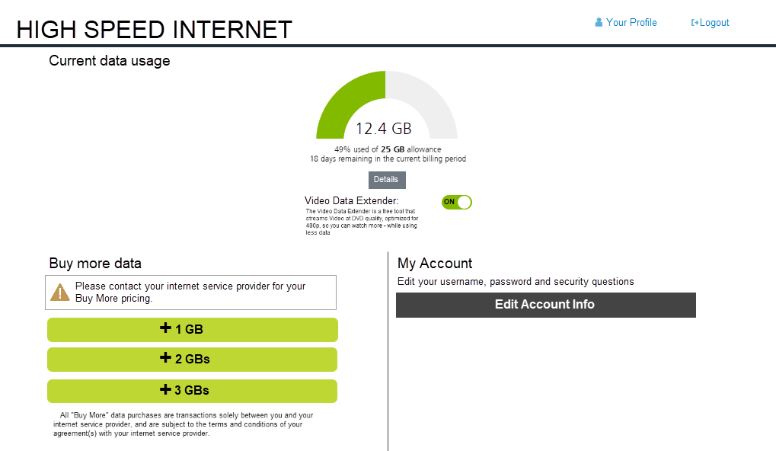
Depending on the package the subscriber has purchased, there are either two or three widgets are available to help the subscriber manage his account. Review these widgets with the subscriber, and ensure they understand how to use the information they provide.
Freedom Subscribers
Because Freedom subscribers have virtually unlimited data allowance, their dashboard shows only two widgets.
All other subscribers see three widgets, as described below.
Current Data Usage
This widget shows the subscriber how much of their data plan has been used, and how many days remain in current usage period.
0% to 69% – gauge shows green
70% to 99% – gauge show yellow turning red
100% – gauge shows red
When the gauge is red, the subscriber may see their speeds slow down, based on the package they have.
BuyMore
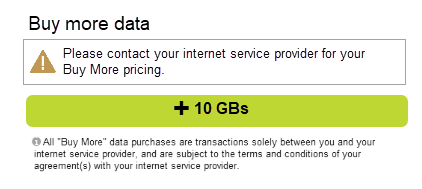
The Buy More widget allows the subscriber to purchase additional data allowance when their usage has exceeded their normal limits.
Residential subscribers see choices for +1GB, +2GB, and +3GB.
Business subscribers see a +10GB choice.
Note: Pricing is determined by the Reseller.
My Account
This widget allow the subscriber to change the following items on their account:
Username
Password
Security Questions
If they wish to make other changes, they must contact their Reseller.
Password Shortcut
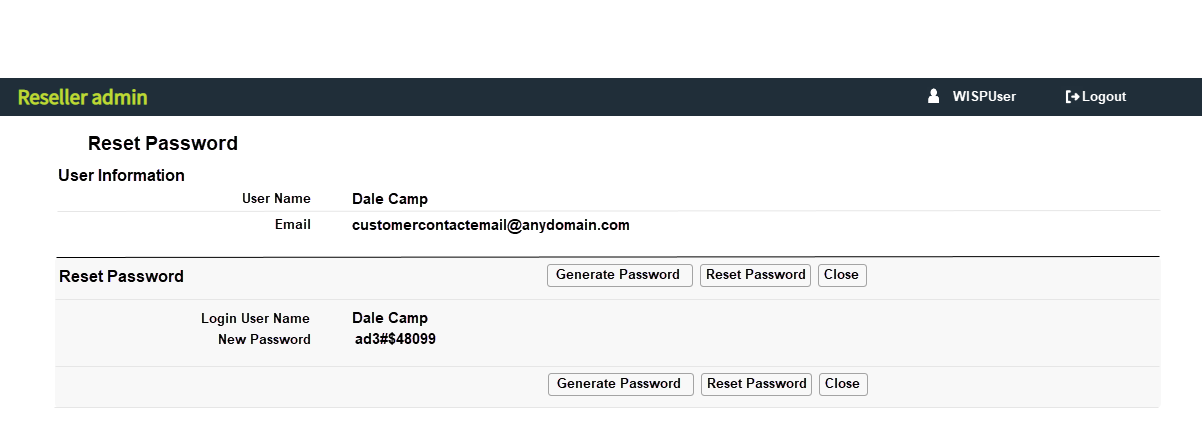
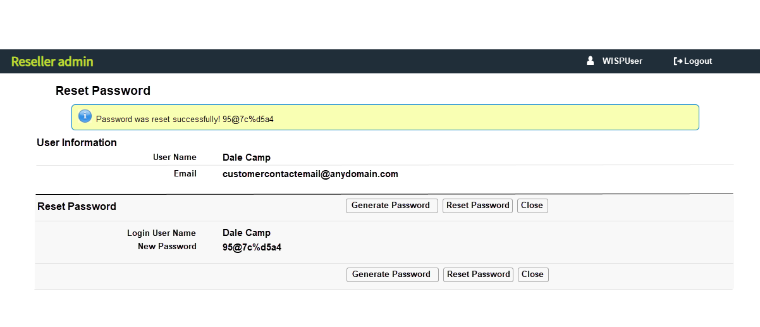
Follow these steps to reset the subscriber’s password. The Reseller must verbally convey the new password to the subscriber, as there is no email notification. We recommend that the subscriber then login with this new generated password, and reset it again from their dashboard.
From the Password shortcut link, the Reset Password page appears.
Confirm that this is the correct account by asking the subscriber to validate their email address and phone number or other validation process described by the Reseller.
Click Generate Password.
Note: The user may not define the new password. The only option is for the system to generate it.
Click Reset Password
The confirmation message appears at the top of the page.
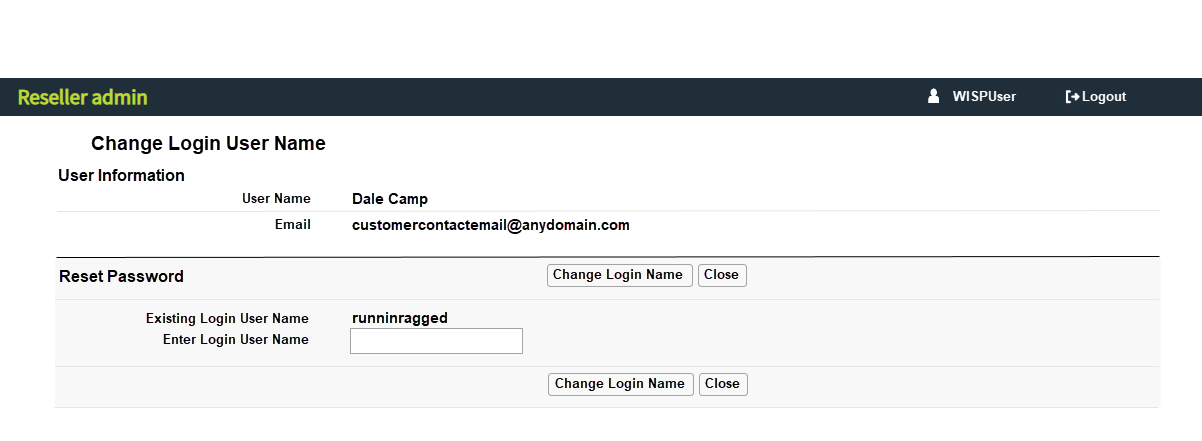
Username Shortcut
Follow these steps to change the subscriber’s username.
From the Username shortcut link, the Change Login User Name page appears
Confirm that this is the correct account by asking the subscriber to validate their email address and phone number or other validation process described by the Reseller.
Type a new username into the Enter New Login User Name field.
The subscriber may define this so long as it meets the requirements (minimum 6 characters, maximum 30 characters).
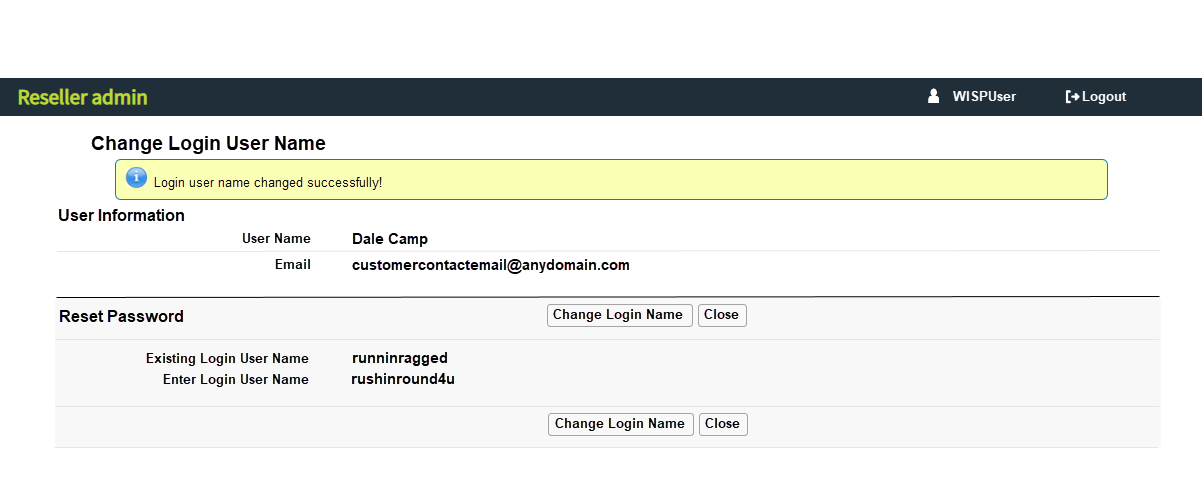
Click Change Login User Name.
The confirmation page appears.
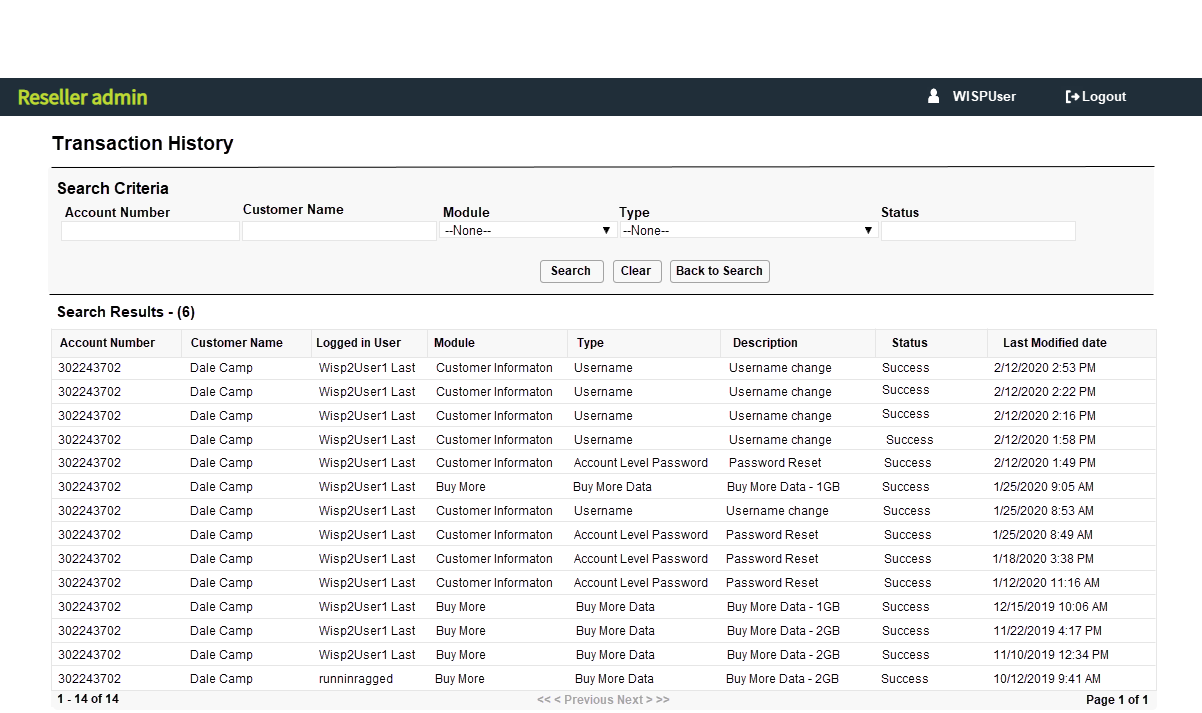
3xxxxxxxx (Account Number) Shortcut
Follow these steps to view all transactions on the subscriber’s account
From the 3xxxxxxxx (Account Number) shortcut link, the Transaction History page appears.
To search the list of transactions, select either the Module or Type drop down.
Note: You may also use the Previous and Next arrows at the bottom of the page to see additional pages of transactions.
Select the appropriate filter, click Search and wait for the page to refresh.