Scheduling Work Orders


Summary
This Job Aid covers:
Scheduling Work Orders
This Job Aid supports the technician, FPM and QC audiences.
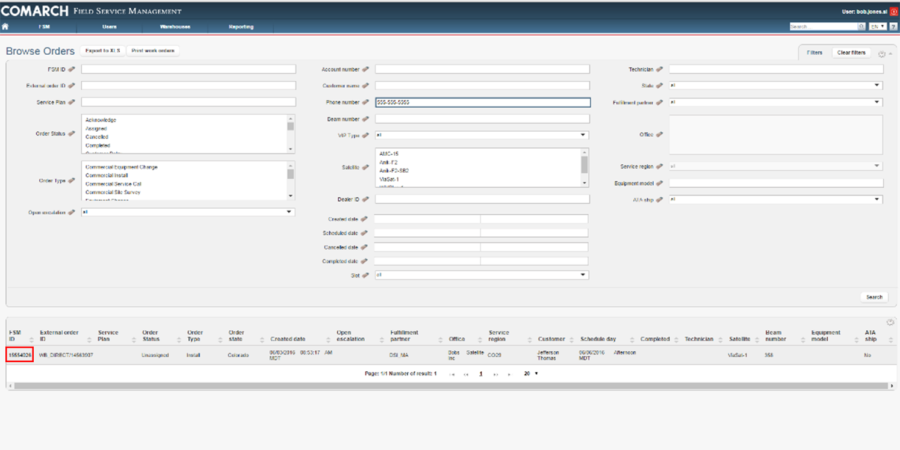
Click on the FSM ID link of the order you wish to schedule.
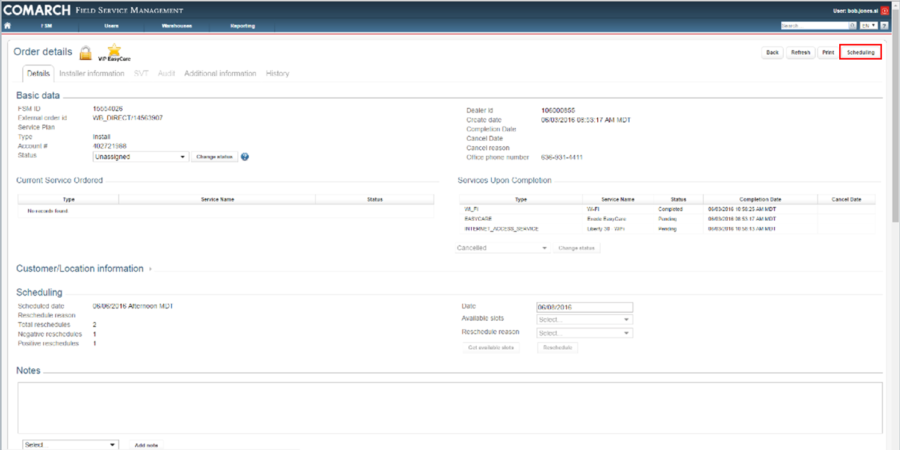
Click Scheduling. A gray or white screen may appear.
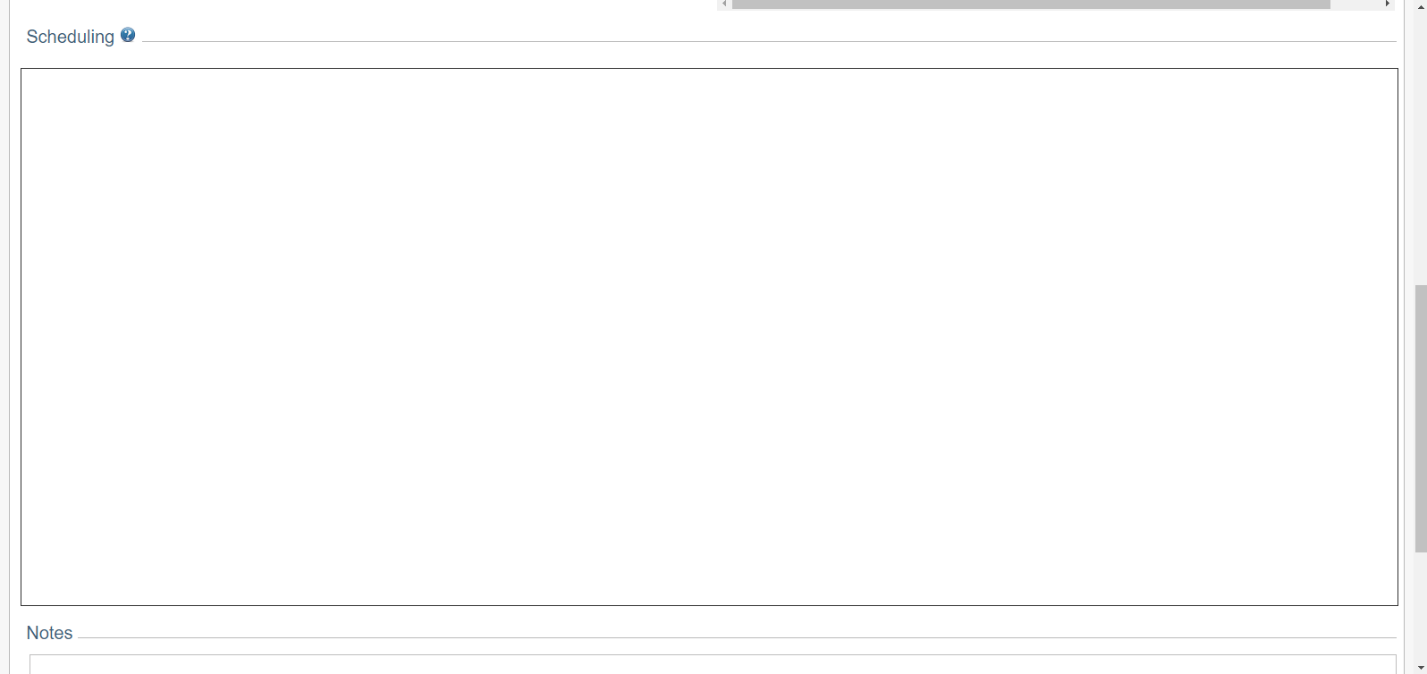
If it does, click on the icon on the far left in the url/address bar to change the Flash settings.

A new window will appear. Locate the Flash settings and select Allow, by using the dropdown.
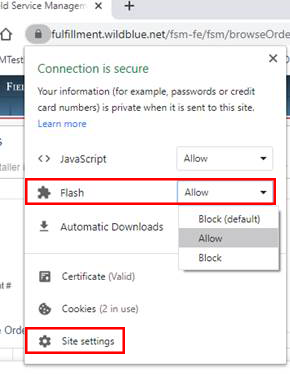
Next in the same window to confirm the entry, select the Site settings icon. A new tab will open.
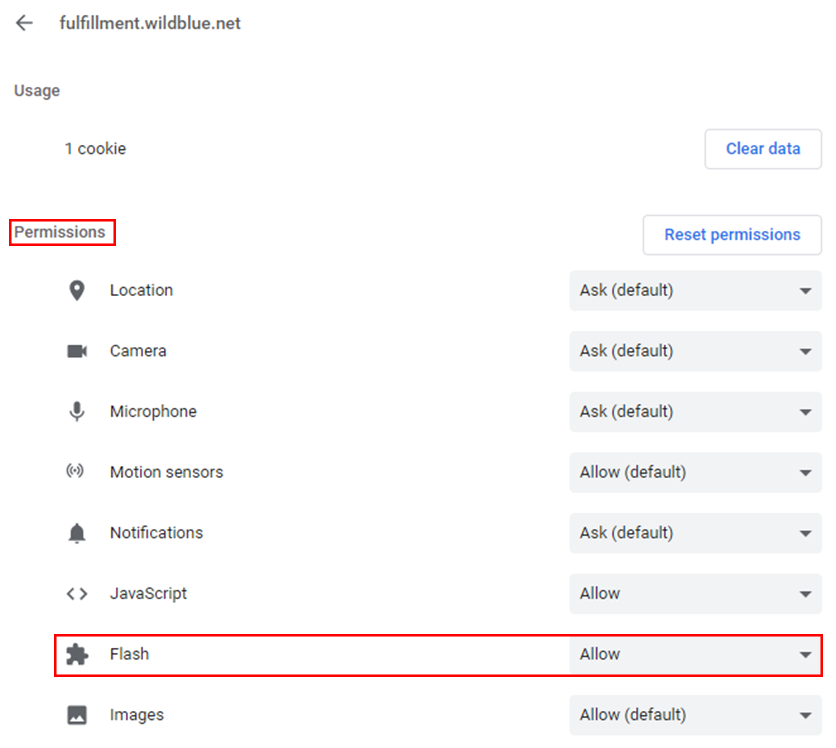
Below Permissions, locate the Flash setting and confirm it’s selected for Allow. If it is not change to Allow. No further action is required on this page and the page can be closed.
Once the tab is closed on the initial FSM tab a popup will appear below the address bar.
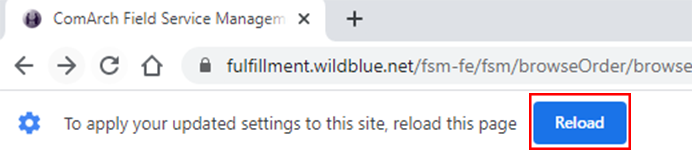
Click Reload. Flash is now enabled and no further action is required. If cookies and cache are cleared you may need to repeat these steps to proceed further.
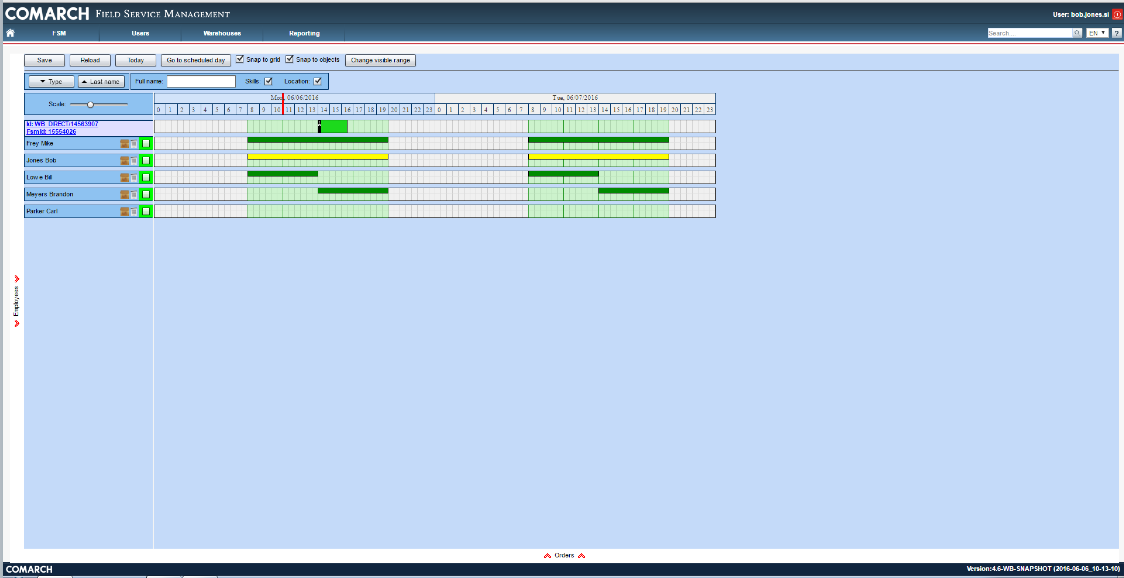
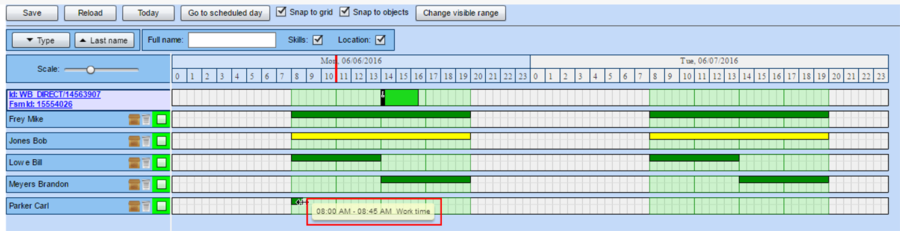
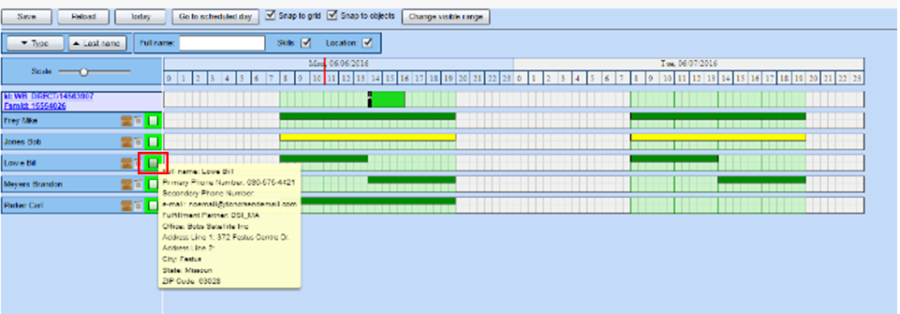
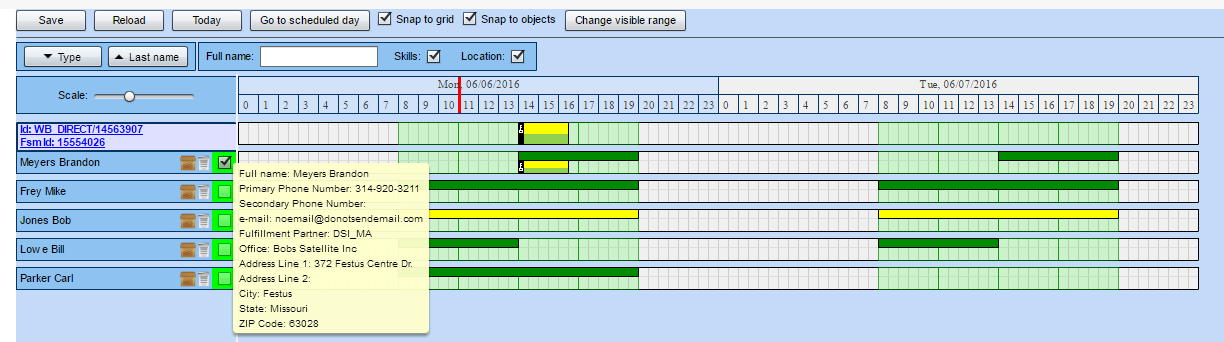
The scheduling grid shows available technicians on the left side and time slots in the middle.
Dark green bars = technician is available for regular Work Time.
Yellow bars = available for Overtime.
No dark bar = not available for that date and time.
To add availability to a technician, in the timeline as shown below with the technician you want to assign. Double click their same row but under the dates within the center grid (white/green boxes).
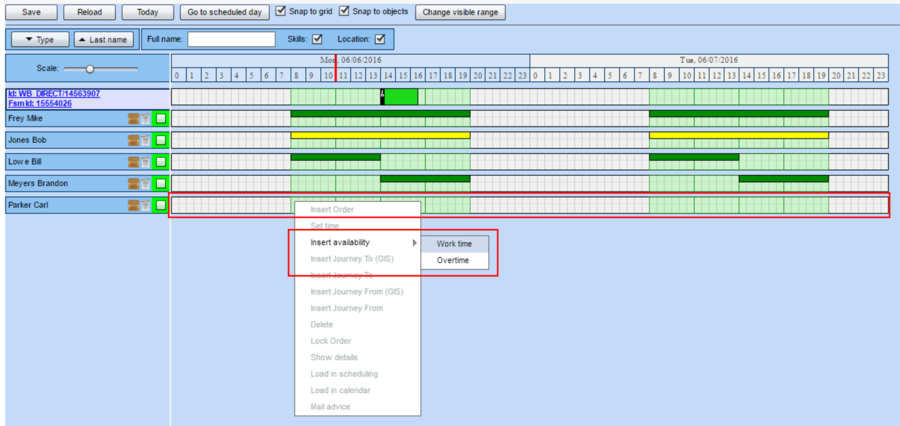
Hover over Insert Availability, then select either Work Time or Overtime.
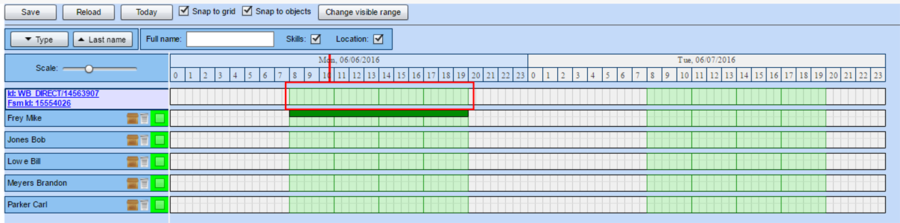
A small bar will indicate availability. Drag in either direction to extend available time.
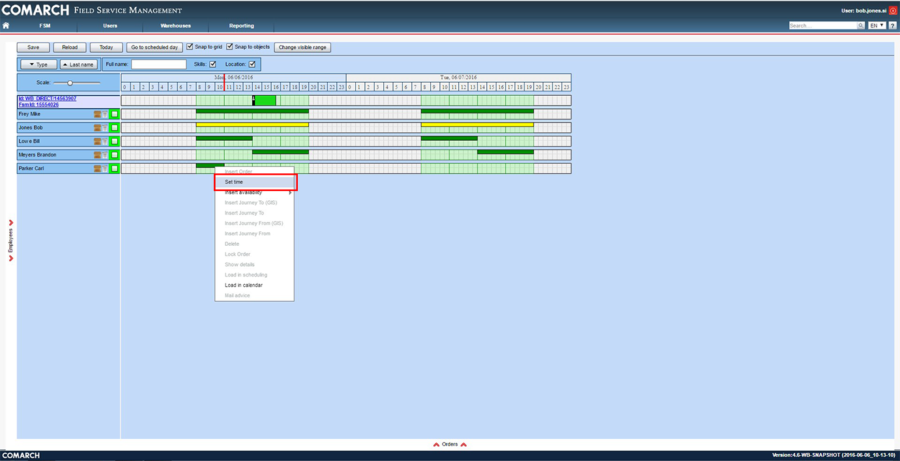
Double click the bar and select Set Time to pick an exact range.

To assign a work order to a technician, double click the work order’s timeline.
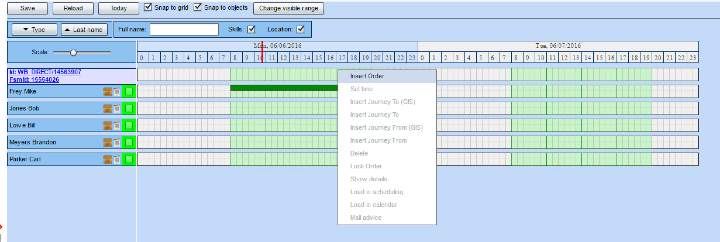
Select Insert Order.
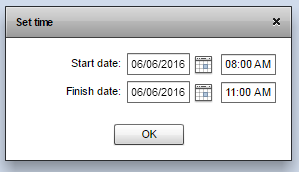
Set the Start and Finish Date and click OK.
A green bar will appear at the duration indicated. To assign a technician, click the checkbox next to their name.
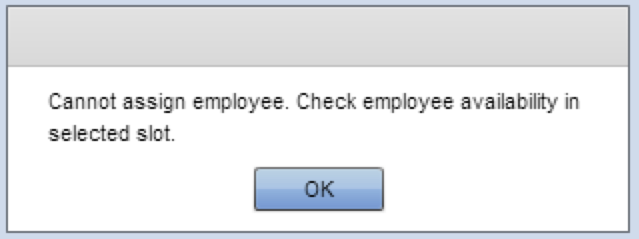
If the technician does not have Work Time available, an error message will appear.
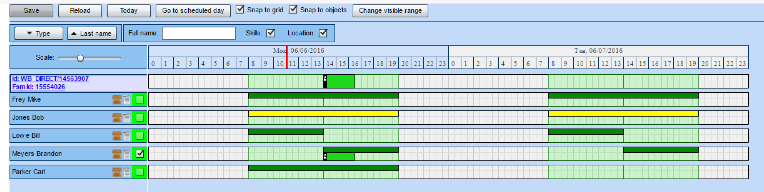
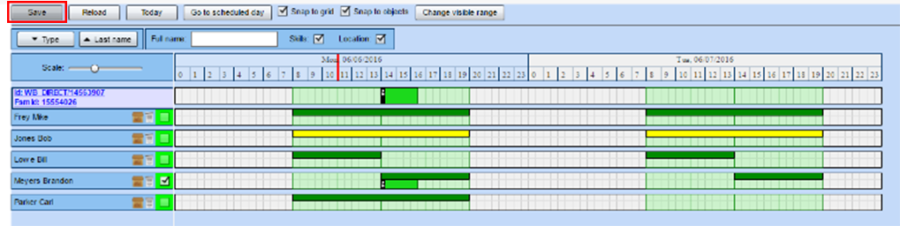
Once the technician is selected, click Save.
When the screen refreshes, the technician assigned now has a block on the lower level of their timeline that coincides with the work order timeline, indicating that they are assigned to that work order at that time.
By unchecking the box next to the technician you can also remove that technician from the order completely or select a different techncian by following the steps above.
If the date or time of the work order needs to change, do this while no technician is assigned. Then select the checkbox next to the new technician and click Save.

To return to the work order, click the blue work order link.